We began by having the students build with straws.
This activity is a stepping stone towards the Spaghetti Challenge. Each child was
given 10 straws, masking tape and was asked to build an upright structure. The
children’s first response was, “Up to the Ceiling, Wow.” Before beginning to
form a design, a few children sorted their straws by color or attempted to make
a pattern. They quickly began to work, some forming a foundation on the table, while others
a long connection of straws. As they completed their creation if it fell over
or had to be held with their hand, we warmly reminded the students the structure
needed to stand on its own. A simple indication on how to achieve their goal at
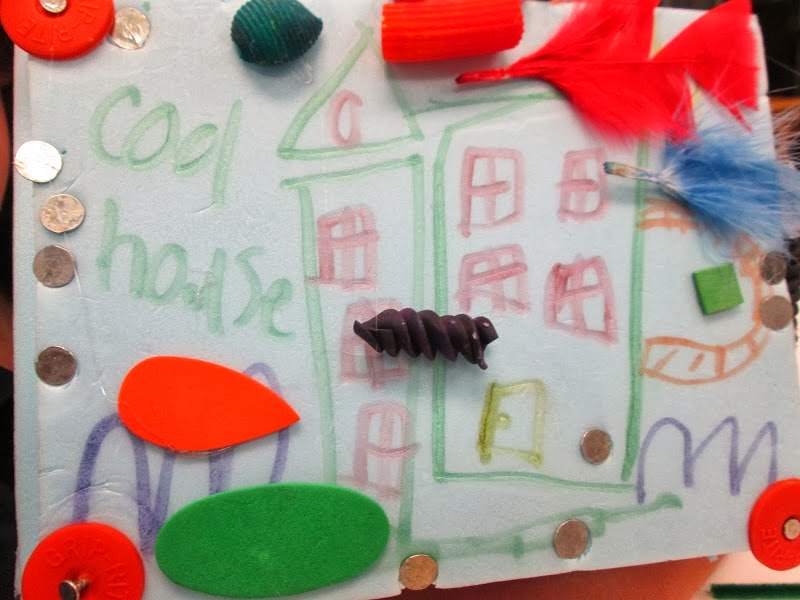
times was needed. The final results consisted of a playground, a house, a
giraffe …
Having previously introduced building with straws,,
the children were now ready to create a structure using spaghetti. The
Spaghetti Challenge was changed a bit from the original rules to make the
activity developmentally appropriate for the children. The materials available
were spaghetti and masking tape. In an effort to not discourage the children
from sustaining a spaghetti structure in an upright position they were allowed
to use the masking tape to hold the spaghetti to the table. We began by discussing
spaghetti and the changes which occur when it is cooked. The children were
scaffold to determine which form of spaghetti was going to be more useful if
they were to build with it. They also mentioned several ways in which the spaghetti
could be secured as with hot glue, duct tape, paper clips, masking tape or
yarn. Each child was given 20 spaghetti pieces, masking tape and the length of
the class to explore building. The children began working independently,but as
time passed a few decided to work together.
In each group there was a child that broke all of their spaghetti into
tiny pieces, and one that clumped all 20 pieces together. Patience was needed as
their creations became more elaborate and they had to problem solve why it was
falling over or how the structure stayed upright as long as they held it with
one hand. The children also grasped the precise pressure when using a piece of
tape to connect the spaghetti so that it would not break.


