Friday, June 27, 2014

Take-A-Part and Design

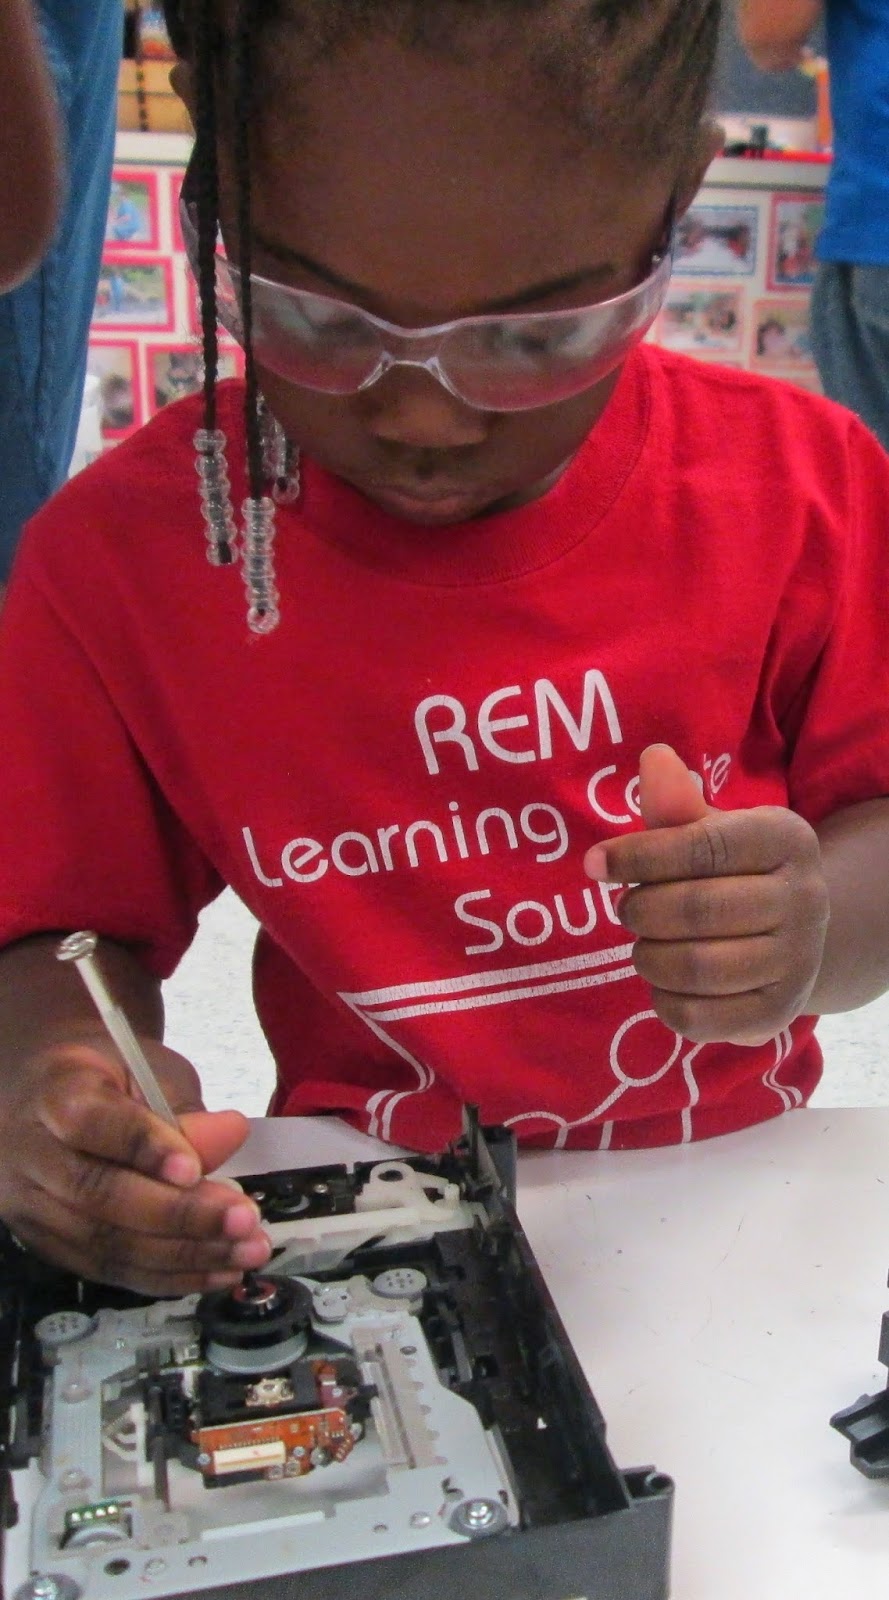
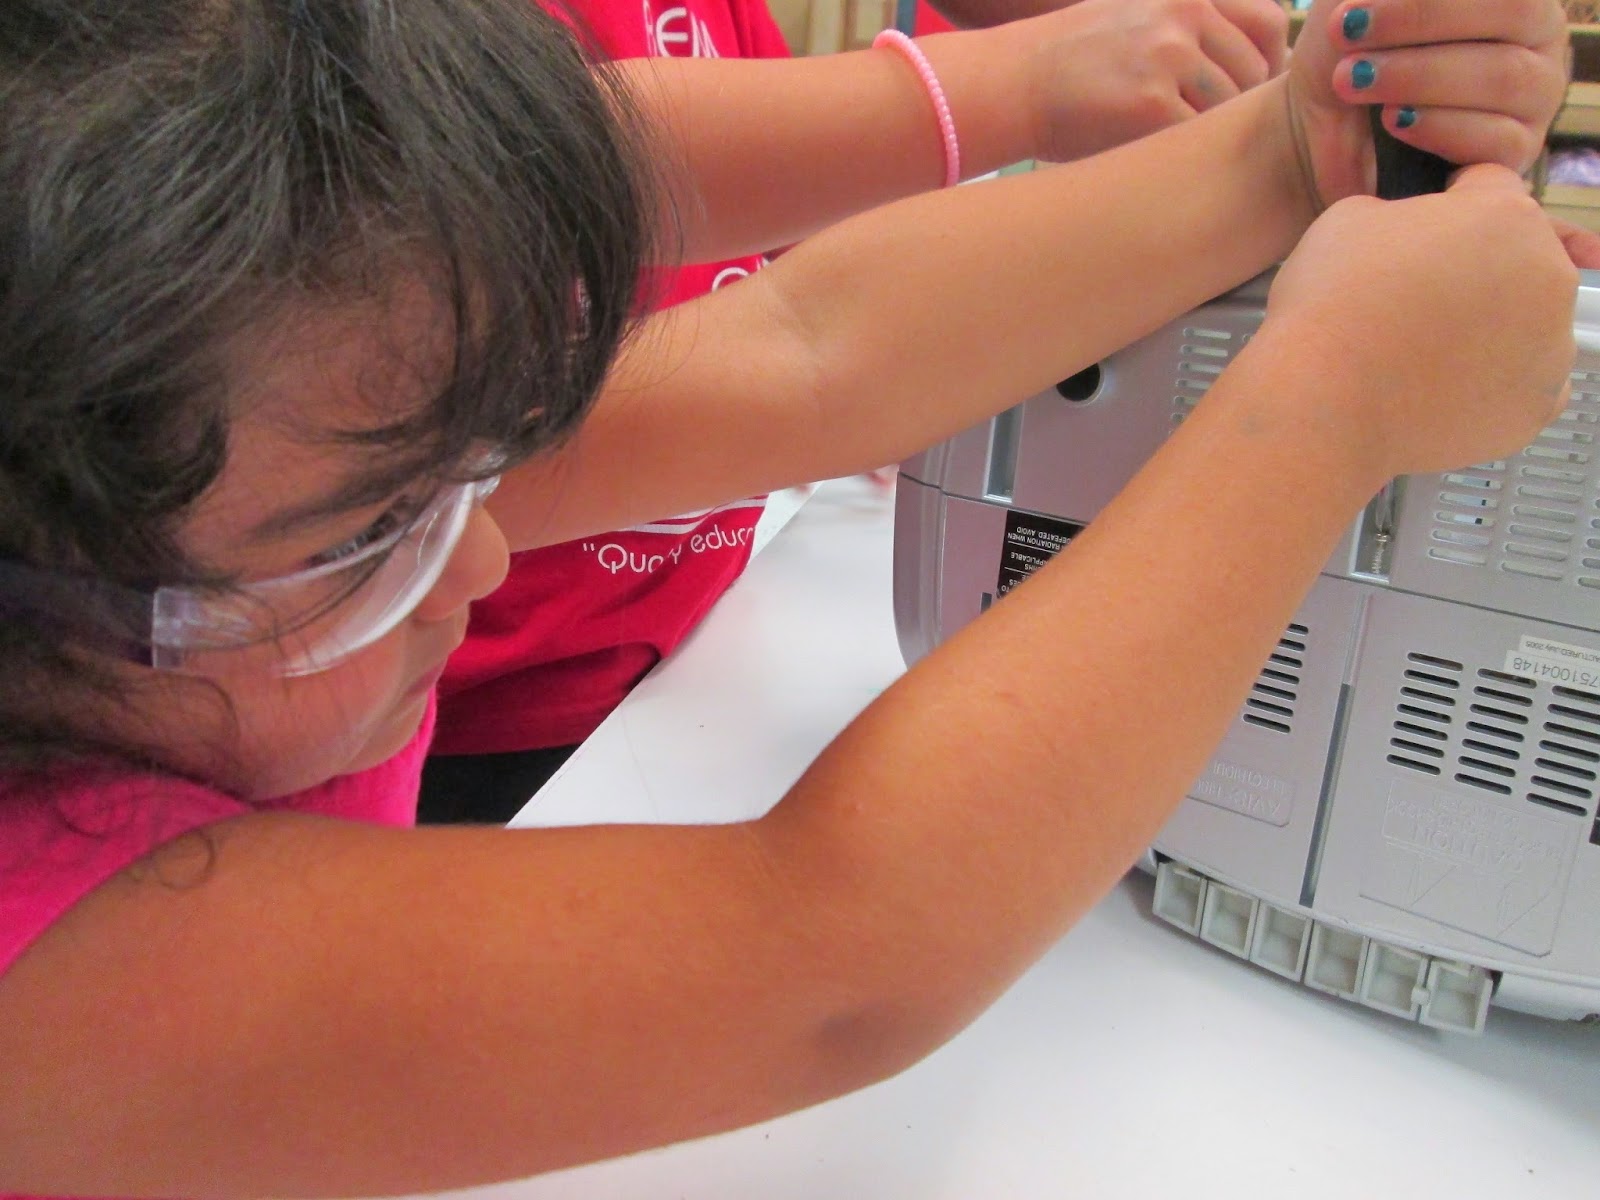
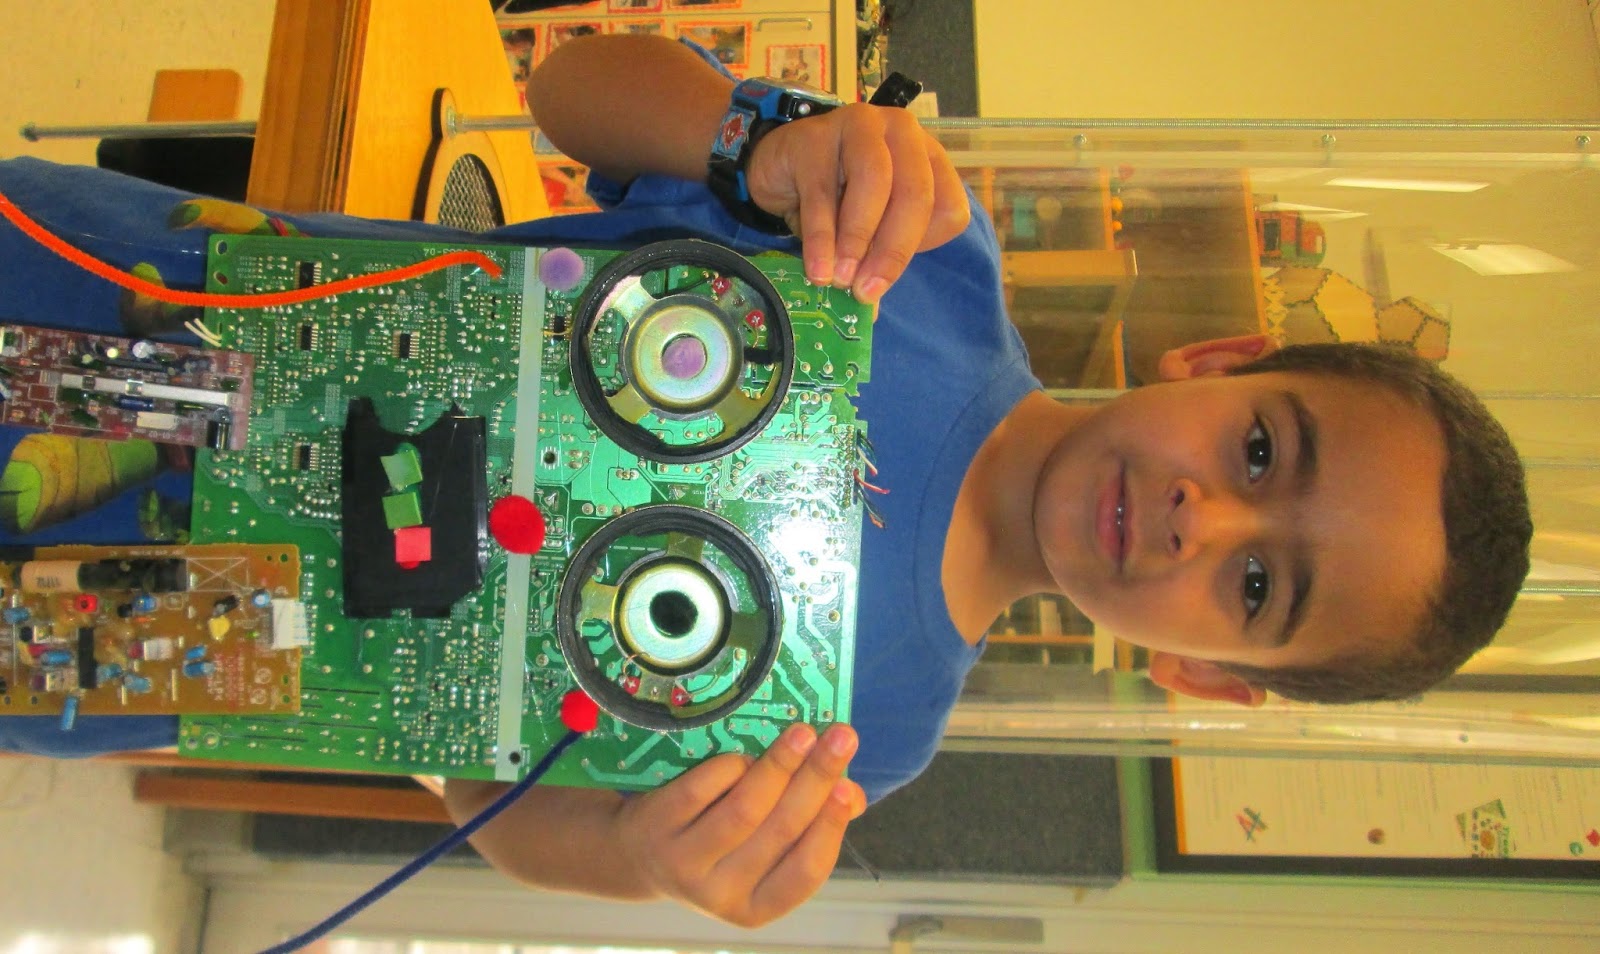
Taking apart old electronics, especially those with moving parts, is an especially engaging activity for the children. For many it is the first time that someone has given them something and asked them to take it apart. And for many it is their first exposure to a screwdriver.

Questions include:
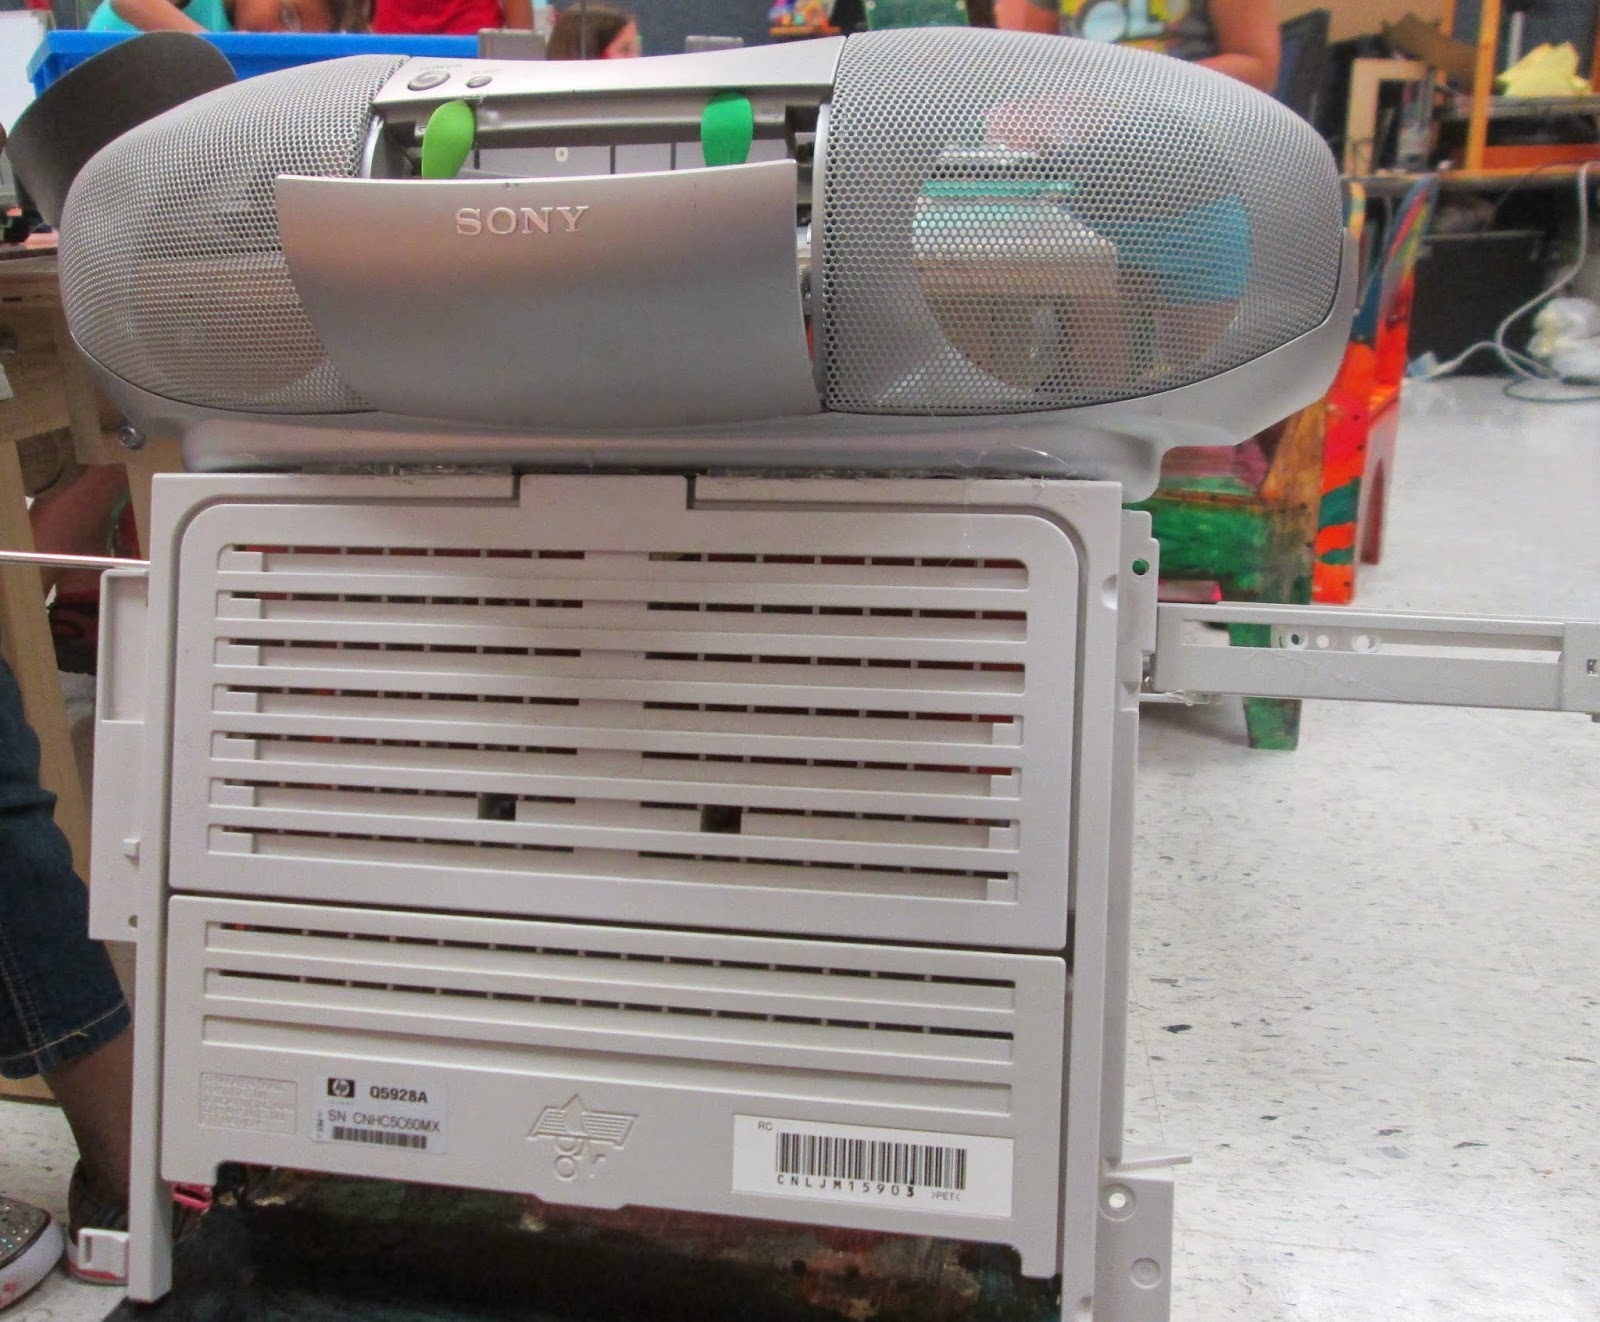
What do you think is inside?
How can we find out?
What tool or tools can we use to take this apart?

As they begin to use the tools to take the electronics apart, they inevitable run into challenges. For instance they realize that the size of the tip of the screwdriver must match the size of the head of the screw. Some of the screws are in difficult places and at times hidden. Finding the screwdriver with the right length to reach hidden screws is also a challenge that keeps the children engaged.


Even the teachers can’t help but get into the action.


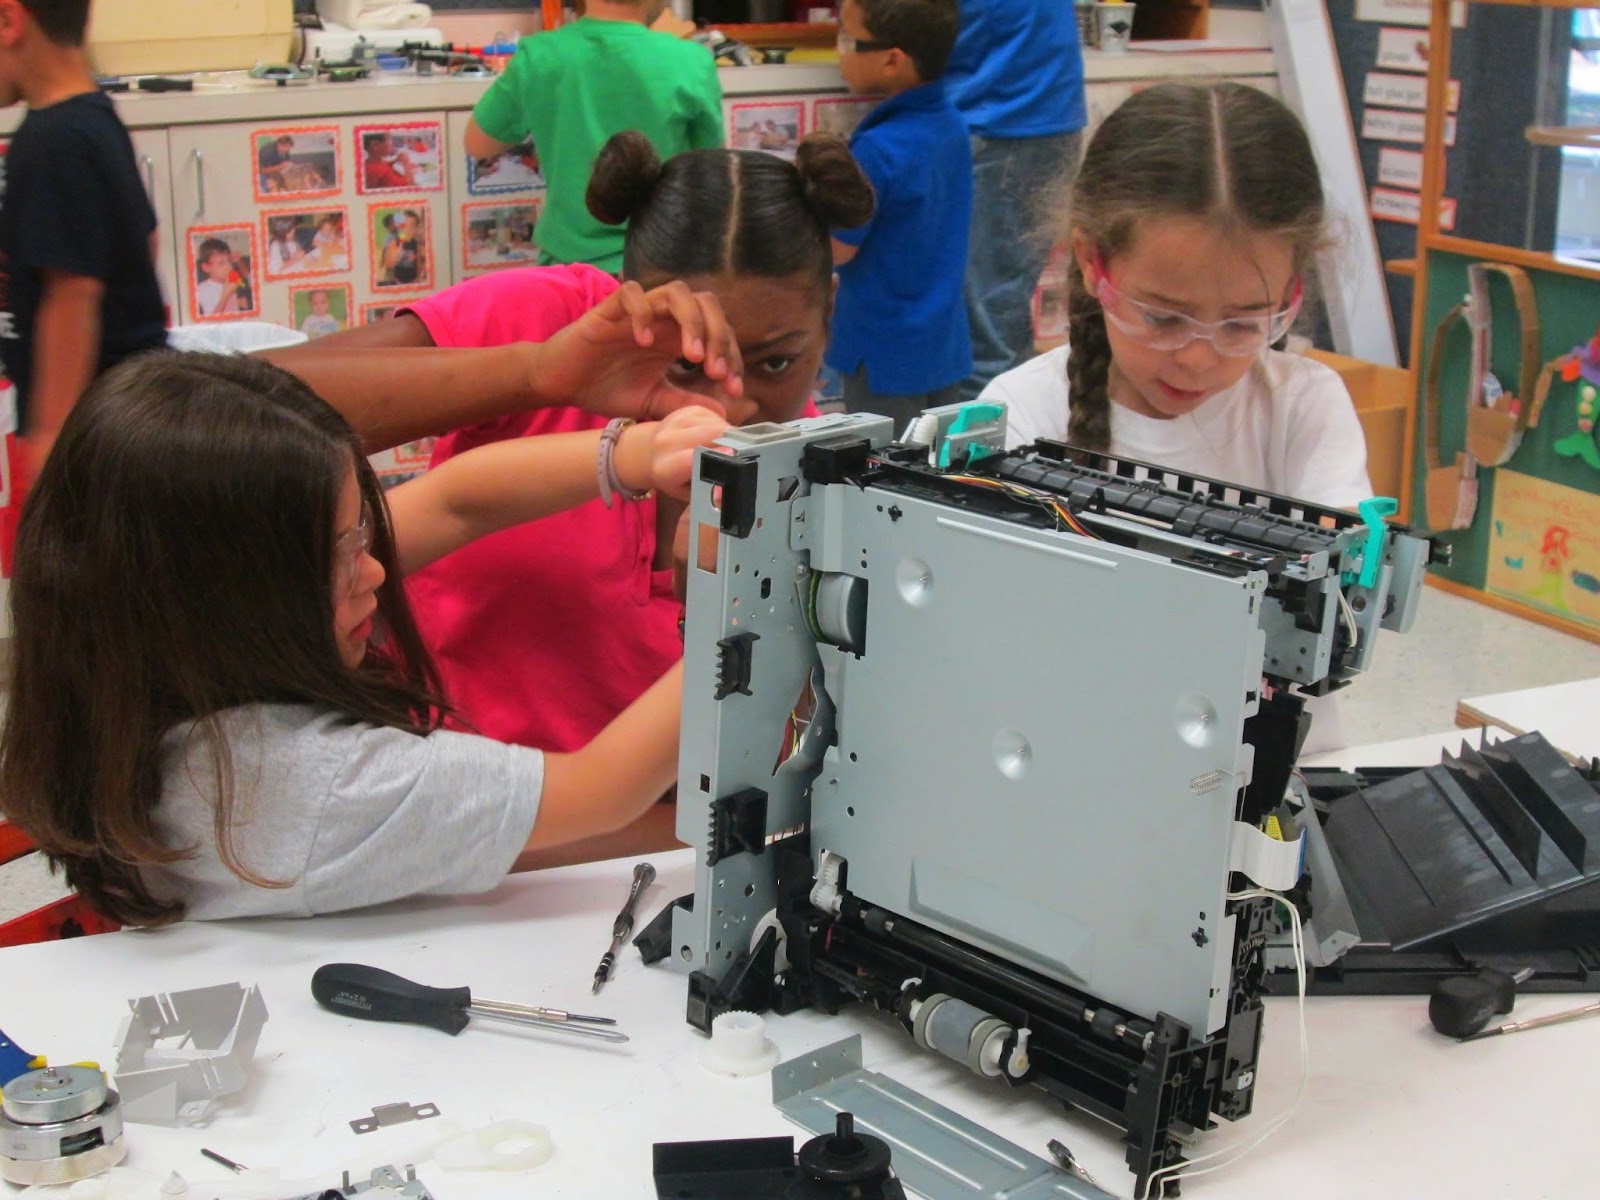
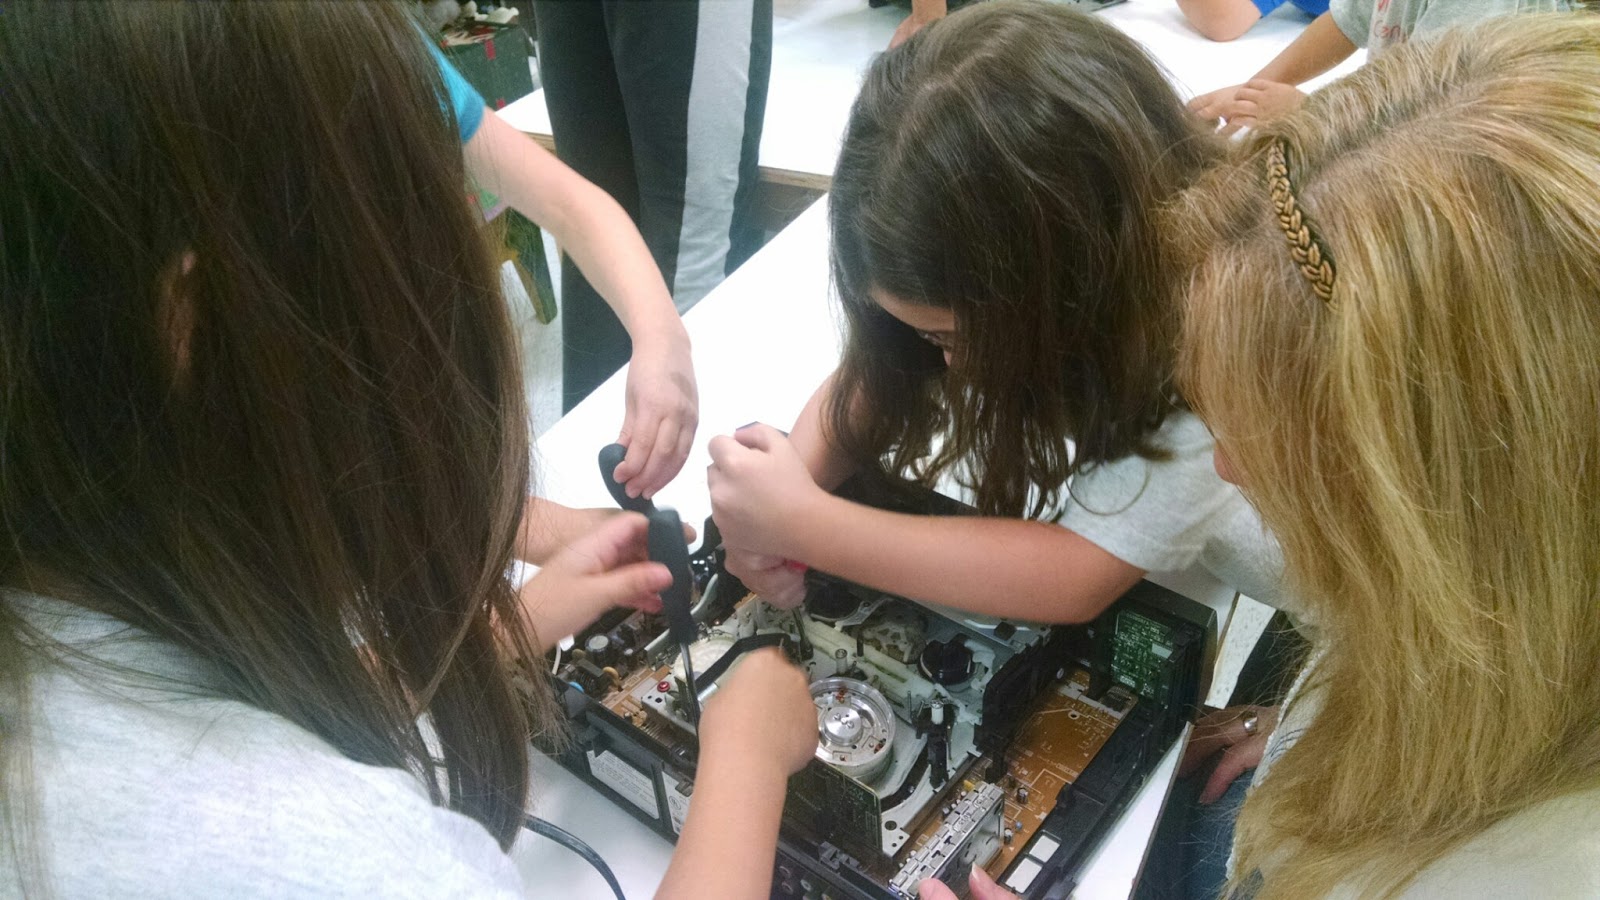
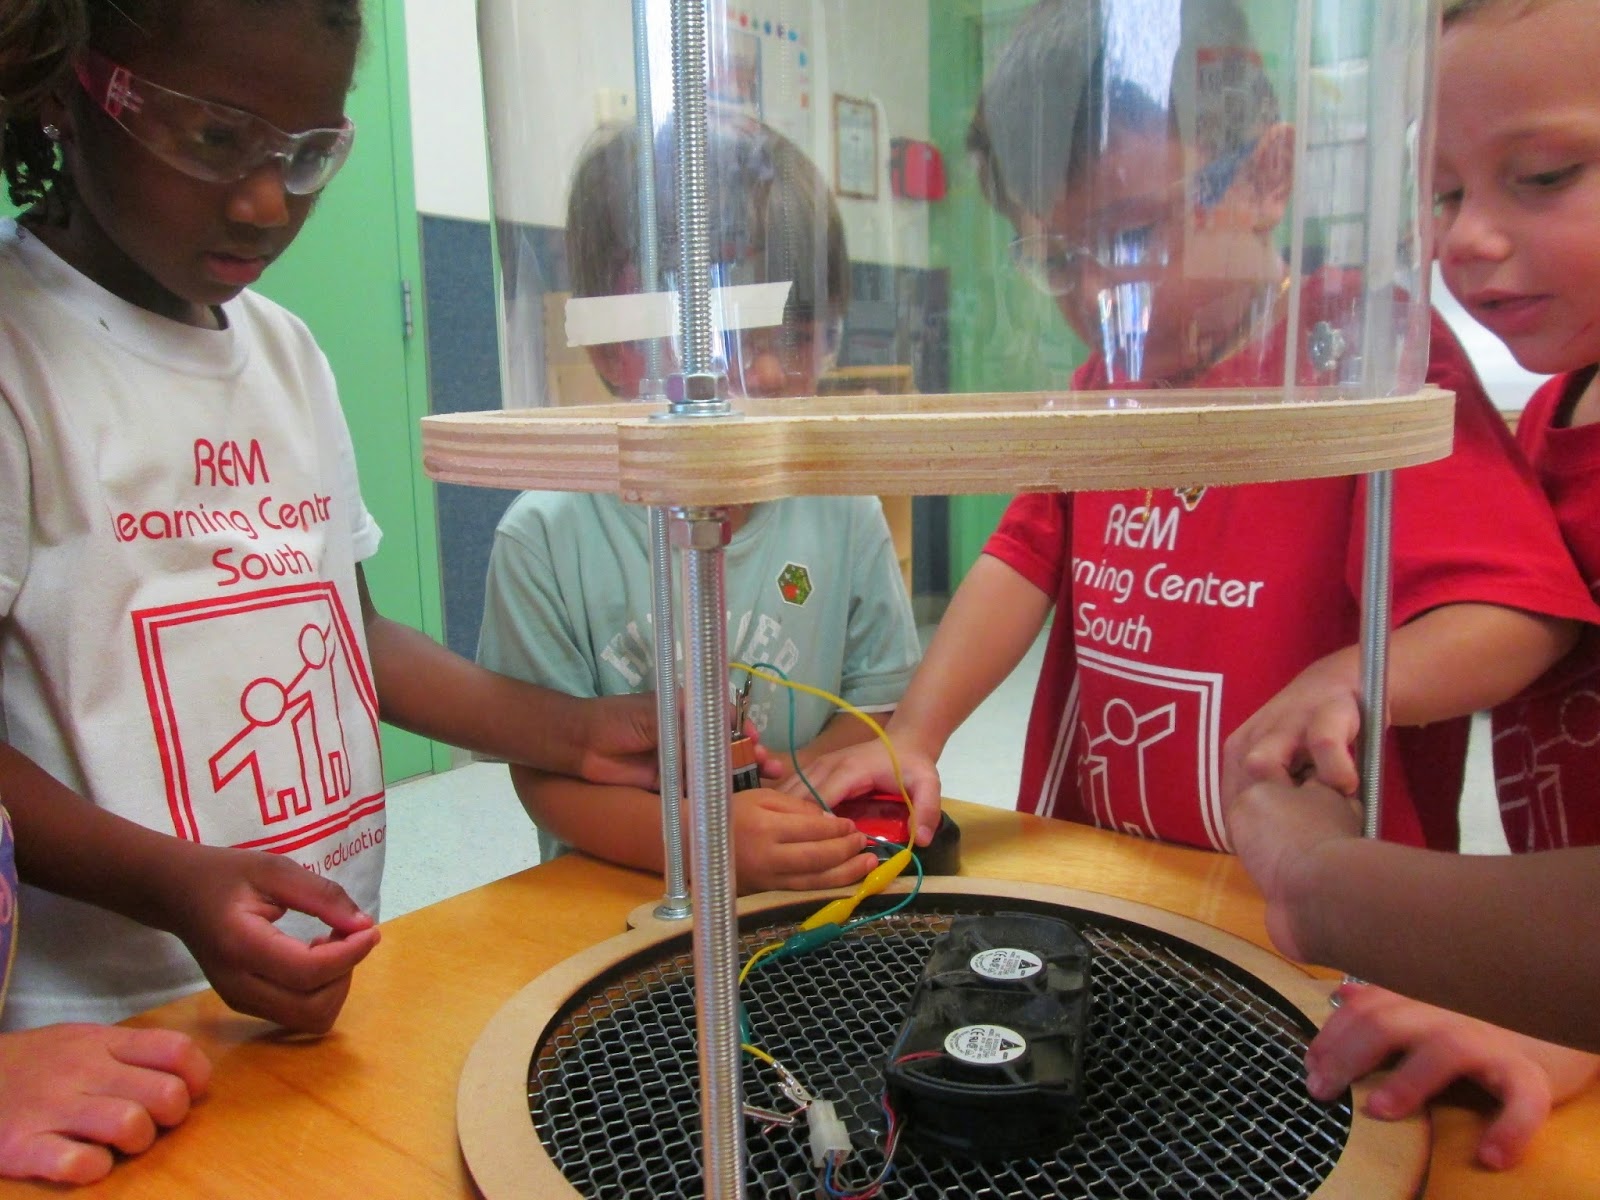
Once the electronics are taken apart we always have plenty of batteries and alligator clips on hand so that the children can begin to explore the function of the components. This group of children found a fan in one of the components and was attempting to recreate the air moved by the fan at the bottom of the wind tube.


Once the excitement, engagement and sharing of ideas begins to slow down, we ask the children:
What could you design using the parts you have here?
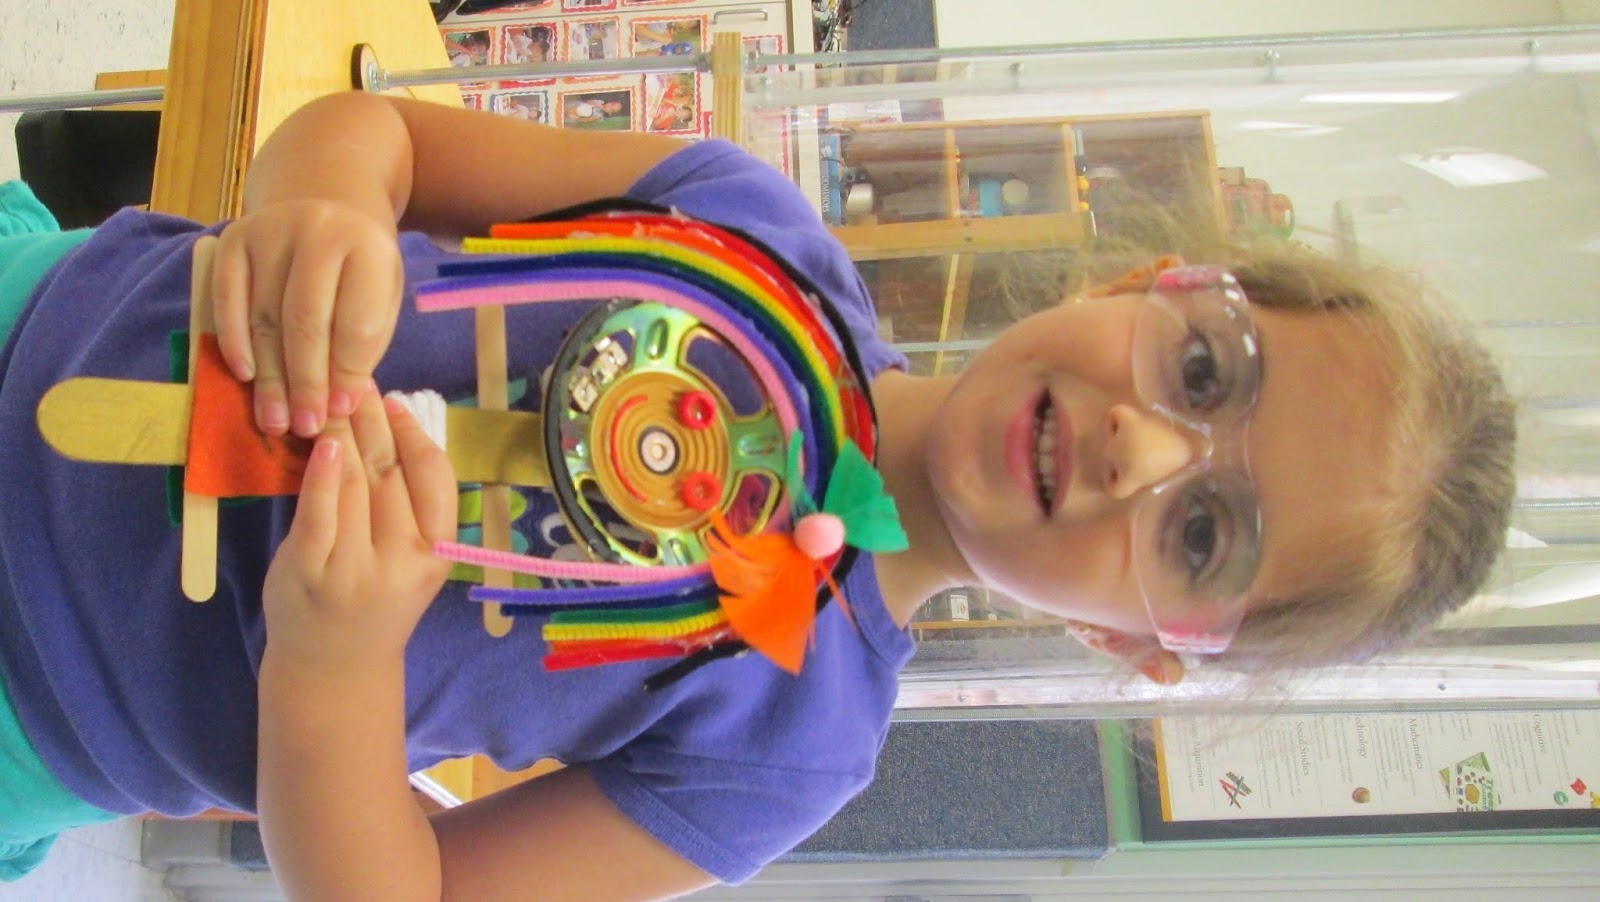
Around the room are examples of what others have done to re-purpose old electronic components, both physical examples as well as pictures of creations by other artists. Some could be works of art, others are made into toys, and some have been used for jewelry.
This extension of the take apart activity is a great introduction to the use of a hot glue gun. Another tool which many of the children have either never seen and used before, or know of a parent or grandparent who uses one but they cannot touch it. We walk them through safety rules and empower them to begin their designs. Here are some example of what was made.


Friday, December 27, 2013

Holiday Circuits

Holiday Circuits

Materials each child received: a battery, led light, copper tape, Popsicle stick


In the FabLab we had been exploring the use of craft sticks, a material that both the children and the teachers feel comfortable with as the base for many arts and crafts activities, as a base for circuits. Using our Epilog Laser cutter we designed a simple circuit template, that could be created by the children, and was open enough so that they could easily incorporate basic electronics into their crafts.

For the annual holiday show each teacher decided on a prop for the children in the class to wear. In an effort to provide a festive look, the children made a circuit with a specific LED light to represent their class. The light was placed behind the prop allowing only the switch to show. For this activity the classroom lead teacher and assistant joined the Play Make Share staff. Each teacher sat with a small group of 4-5 children.

The children were previously introduced to a squishy circuit activity in August and were able to remember the names to the materials with an exception to the copper tape. Details as in the LED lights having a long leg/ short leg, battery having a positive side/ negative side were recalled by the children in every group. After discussing the materials and their purpose in a large group, the children’s attention was drawn to the teacher at their table.

The children were encouraged to place the light and battery on the Popsicle stick. Once all of the children at the table had finished, the teacher would show the position of each item modeling and giving the children sufficient time to rearrange their light or battery. One of the challenges the children face is connecting the battery to the LED light on the popsicle stick without it constantly falling off. To ease this challenge and lower the barrier a little, we designed a popsicle stick template that allowed the battery and LED light to be press-fit, thus ensuring they would stay in place. The next step would be to connect the LED to the battery using copper tape. Separating the back of the copper tape and placing it correctly proved to be challenging for the children. It took quite a bit of patience on their part but they all managed to find assistance among each other. Once more the teachers at the table modeled where to place the copper tape. Finally the last step consisted of enjoying the lights turn on and off.  The holiday circuits were placed behind the props in their own classroom.


Thursday, December 5, 2013

Wind Tube

The wind tubes are the most fascinating items in the classroom for the children. They have had endless opportunities to explore with them, yet find themselves driven to them every time they enter the classroom. Taking their eagerness into consideration this activity was right up their alley.

On the first day two pieces of tape were placed within a designated area of the clear plastic which forms the tube. The challenge was for their creations to stay floating within the space that was marked. The children had miscellaneous craft items available, hot glue gun and cups. They began by randomly adding craft items to their cups with tape or hot glue. As each child finished decorating their cup they would approach a wind tube to observe their creation in the tube.  If the decorated cup would not float or fly too quickly through the tube they would return to the table and remove or add crafts. Through encouragement, praise and recognition of their effort, the children continued redesigning their cups until it floated within the determined goal.


The second day was a continuation to the previous activity with a twist. Before designing their floating structure the students decided where to place the tapes on the clear plastic tube. There were three wind tubes and each had to have the masking tape within the same distance from the base of the wind tube. The students were scaffold to find the correct tool within the classroom that would assist them in determining the measurements. Some suggestions were to use a yard stick, ruler or measuring tape. Each student was given the opportunity to measure or assist in placing the masking tape. Once all three wind tubes were marked, the children were ready to create, observe, explore and redesign if needed. 


Tuesday, November 12, 2013

Spaghetti Challenge

We began by having the students build with straws. This activity is a stepping stone towards the Spaghetti Challenge. Each child was given 10 straws, masking tape and was asked to build an upright structure. The children’s first response was, “Up to the Ceiling, Wow.” Before beginning to form a design, a few children sorted their straws by color or attempted to make a pattern. They quickly began to work, some forming a foundation on the table, while others a long connection of straws. As they completed their creation if it fell over or had to be held with their hand, we warmly reminded the students the structure needed to stand on its own. A simple indication on how to achieve their goal at times was needed. The final results consisted of a playground, a house, a giraffe …

Having previously introduced building with straws,, the children were now ready to create a structure using spaghetti. The Spaghetti Challenge was changed a bit from the original rules to make the activity developmentally appropriate for the children. The materials available were spaghetti and masking tape. In an effort to not discourage the children from sustaining a spaghetti structure in an upright position they were allowed to use the masking tape to hold the spaghetti to the table. We began by discussing spaghetti and the changes which occur when it is cooked. The children were scaffold to determine which form of spaghetti was going to be more useful if they were to build with it. They also mentioned several ways in which the spaghetti could be secured as with hot glue, duct tape, paper clips, masking tape or yarn. Each child was given 20 spaghetti pieces, masking tape and the length of the class to explore building. The children began working independently,but as time passed a few decided to work together.  In each group there was a child that broke all of their spaghetti into tiny pieces, and one that clumped all 20 pieces together. Patience was needed as their creations became more elaborate and they had to problem solve why it was falling over or how the structure stayed upright as long as they held it with one hand. The children also grasped the precise pressure when using a piece of tape to connect the spaghetti so that it would not break. 


Friday, November 1, 2013

Nails and Foam Free Art


As an activity to introduce/practice hammers and nails we decided to use a material that was a little easier for the young ones than wood. We decide on rigid foam insulation. We started off by introducing the hammer and nails to the children. We discussed that nails (like glue, screws and tape) are used to bind things together. We showed them how to hold the hammer with one hand and the nail with the other to get it started, them nail in their first nail. From there they were free to practice, and boy did they. After a long period of free nailing we encouraged them to draw on the foam with markers and go back over the lines with the nails.
During the next session every child was eager to get hammering. We brought out the crafting materials and hot glue gun so that they could add to their works of art. Every child learned to use a hammer and nail while creating inspiring works of free art.