We have had our Ultimaker 3D printer in the FabLab and this summer we brought it into the studio to begin to introduce the students to the entire additive digital fabrication process. We wanted to make the barrier to the 3D design process as low as possible. In our research for an appropriate 3D design tool we were looking for one that met the following criteria:
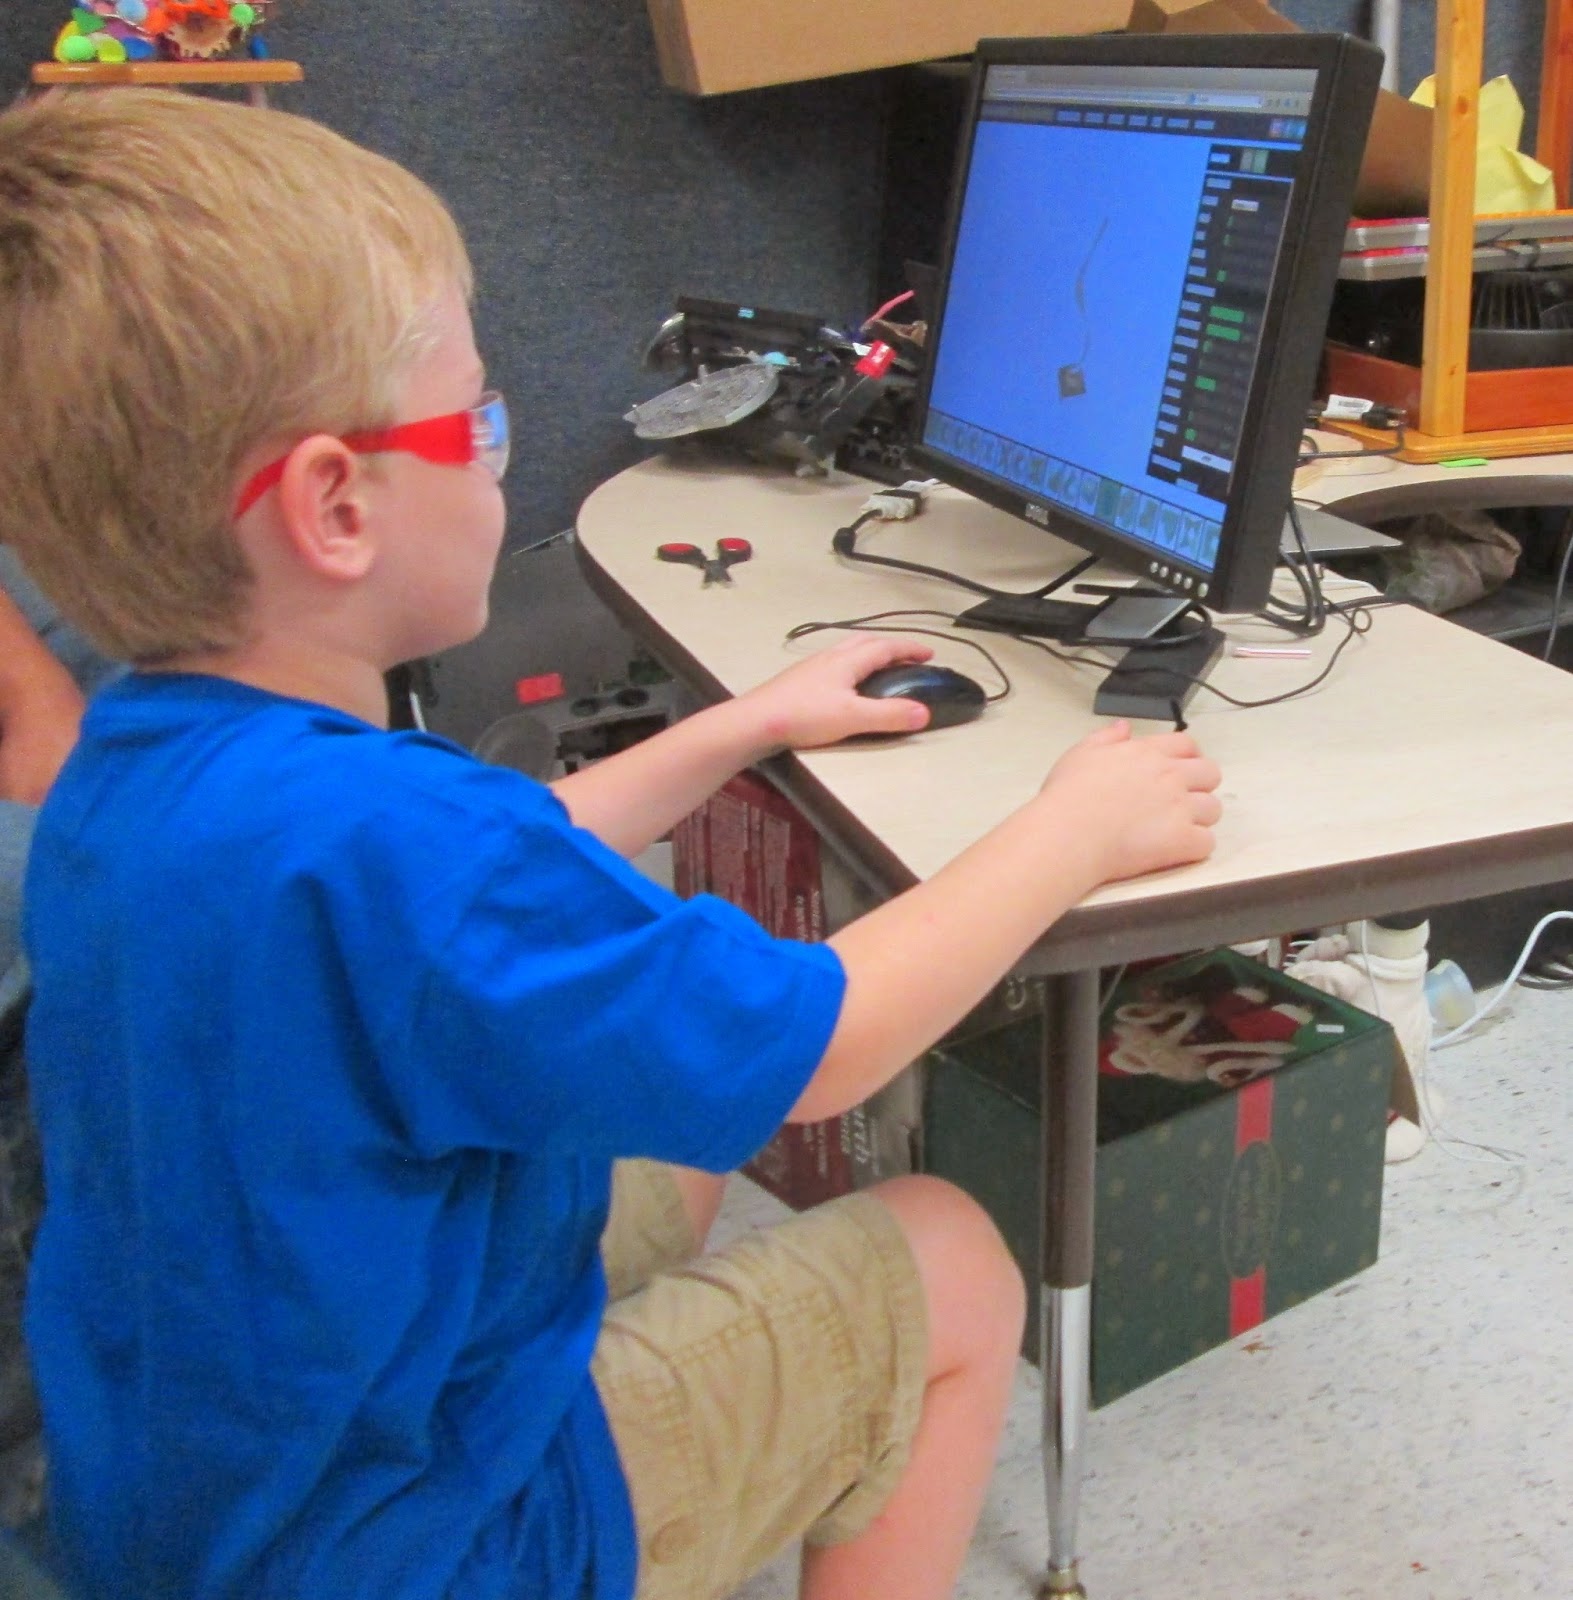
- Low barrier to entry simple interface so that the children could get the feel of having a 3D object on the screen, rotate it, manipulate it, and make changes to the design. We wanted to concentrate on the entire process and did not want to get bogged down by any one step. So there could not be a steep learning curve for young children.
- Choice but not a blank slate. It was important that each child’s creation have their own signature, and empowered them to make something that they could truly call their design. However, starting with a blank can lead us instructors to do a lot of guidance and hand holding, which we wanted to avoid.
- Final designs should be visually appealing and have sufficient detail that the children would feel proud of the final product, and anyone who saw the work would not be able to tell that a child designed it on their own.
- Must be low cost or free.
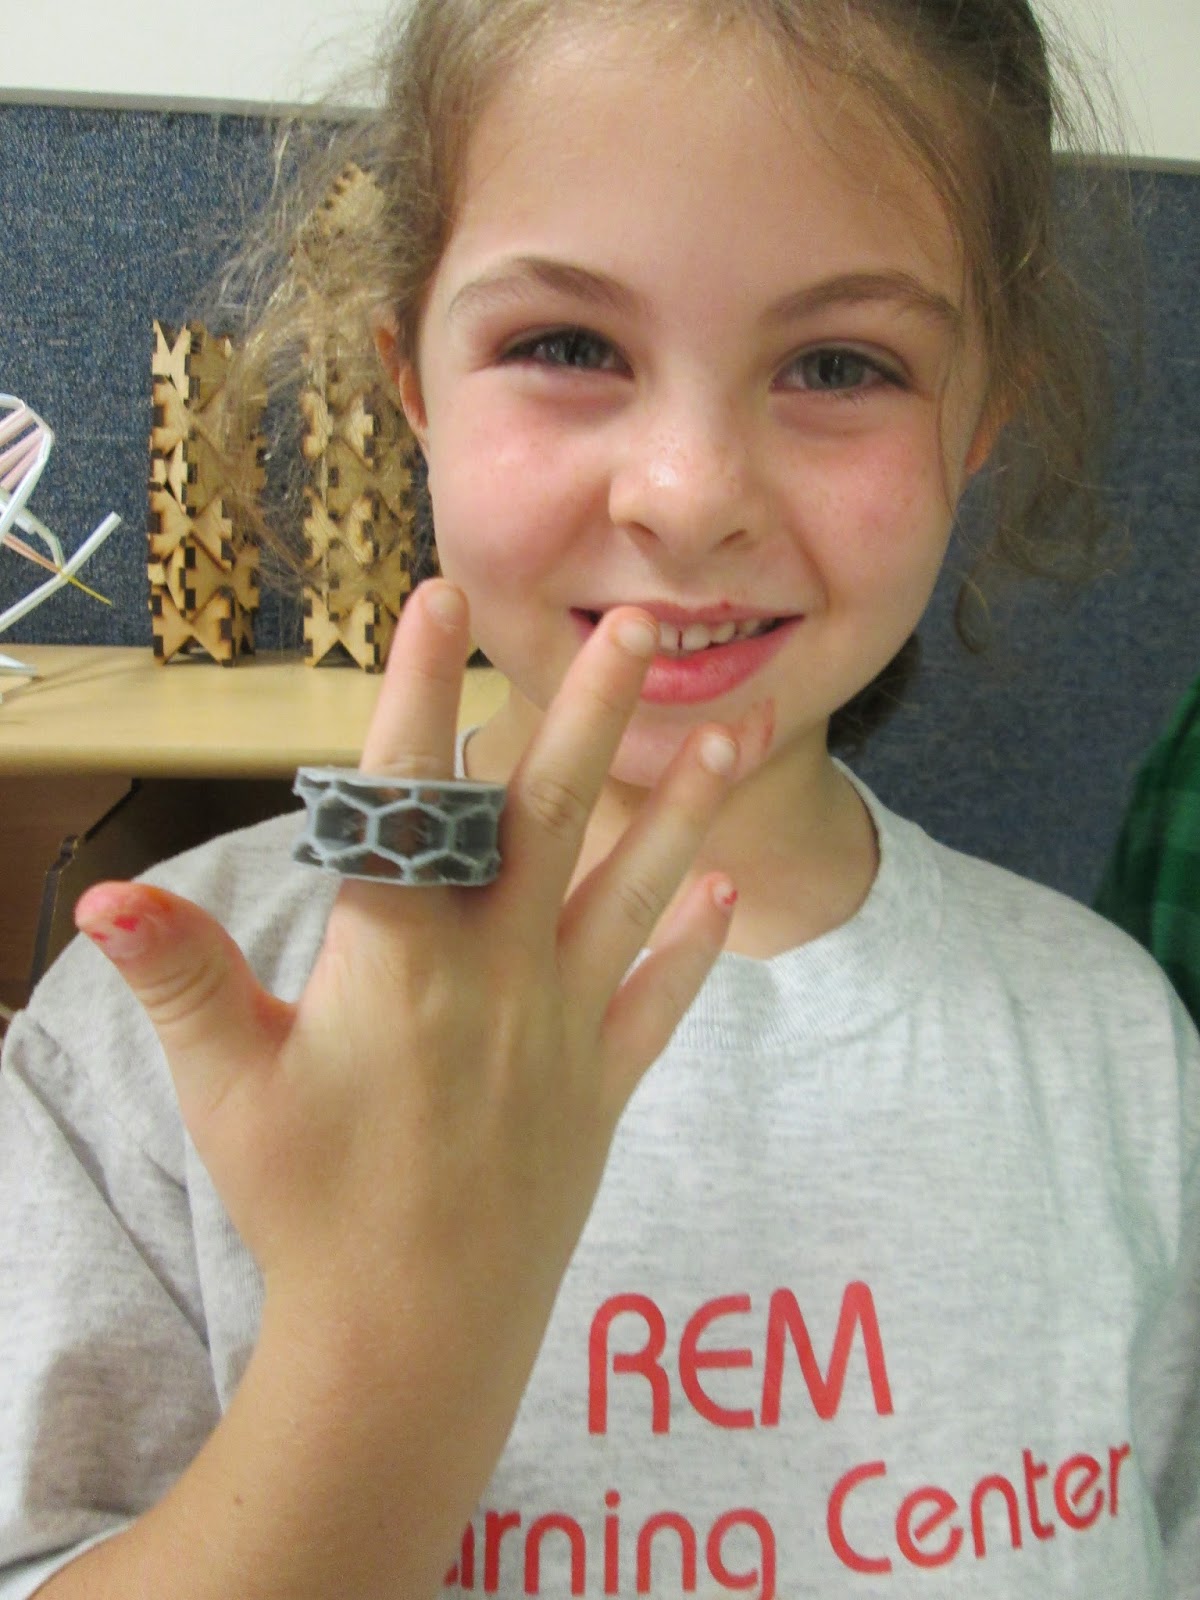
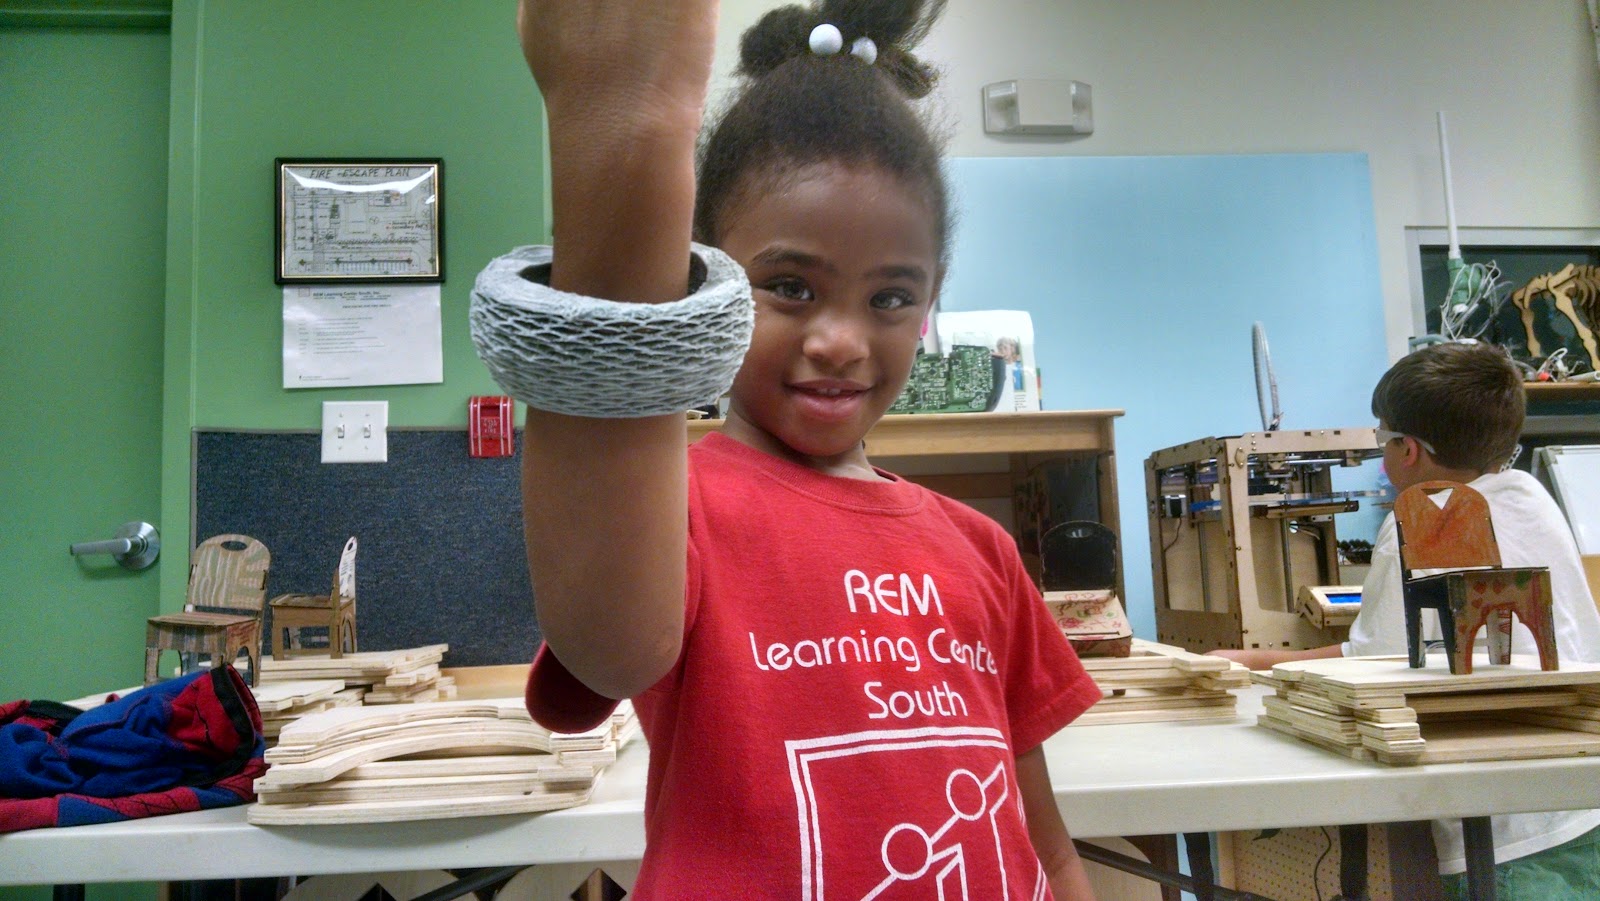
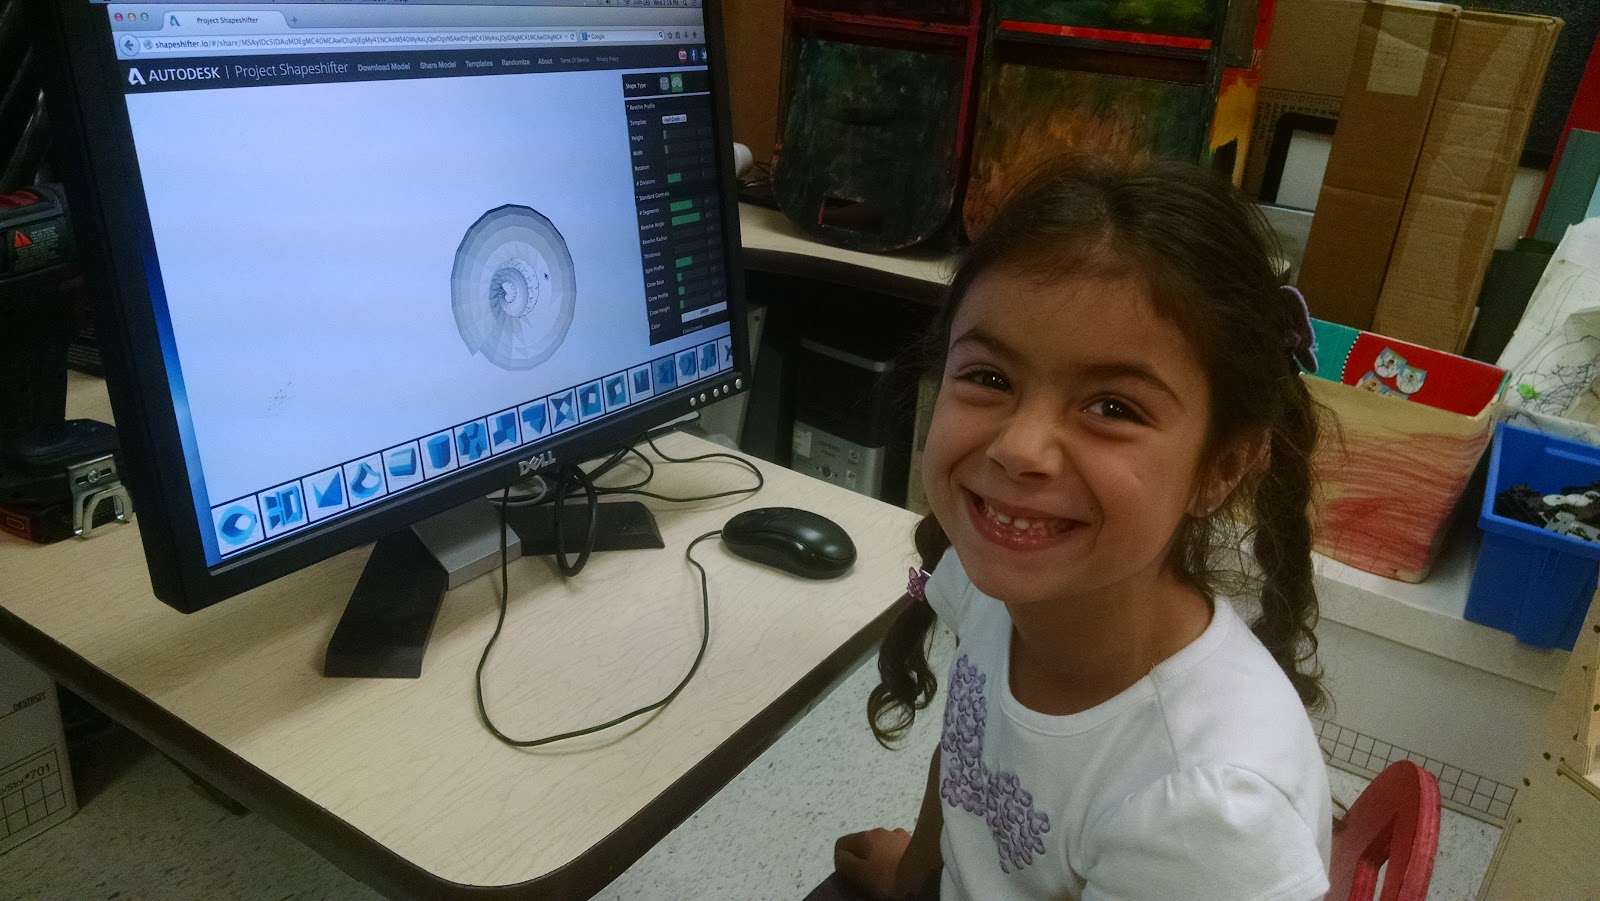
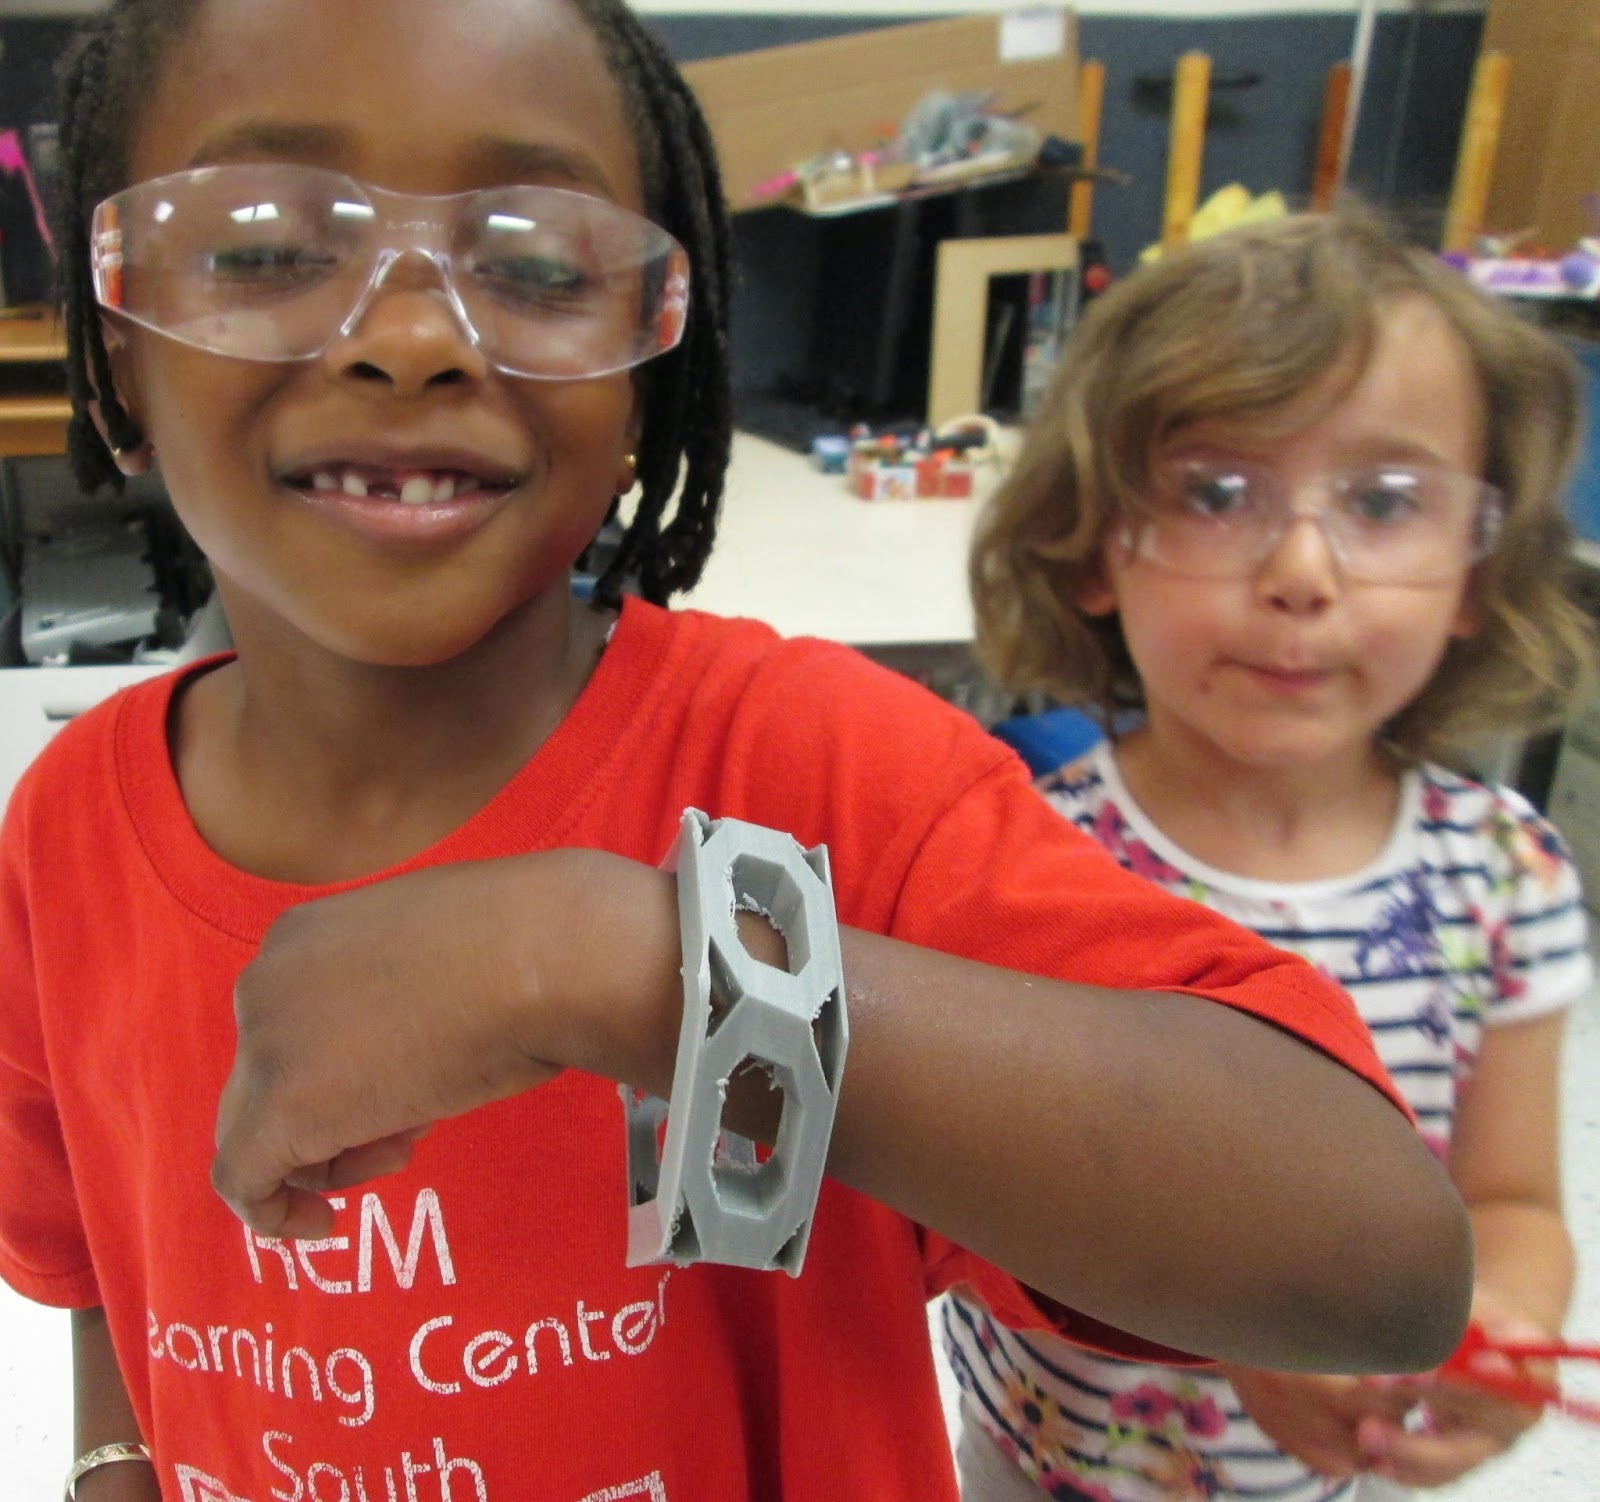
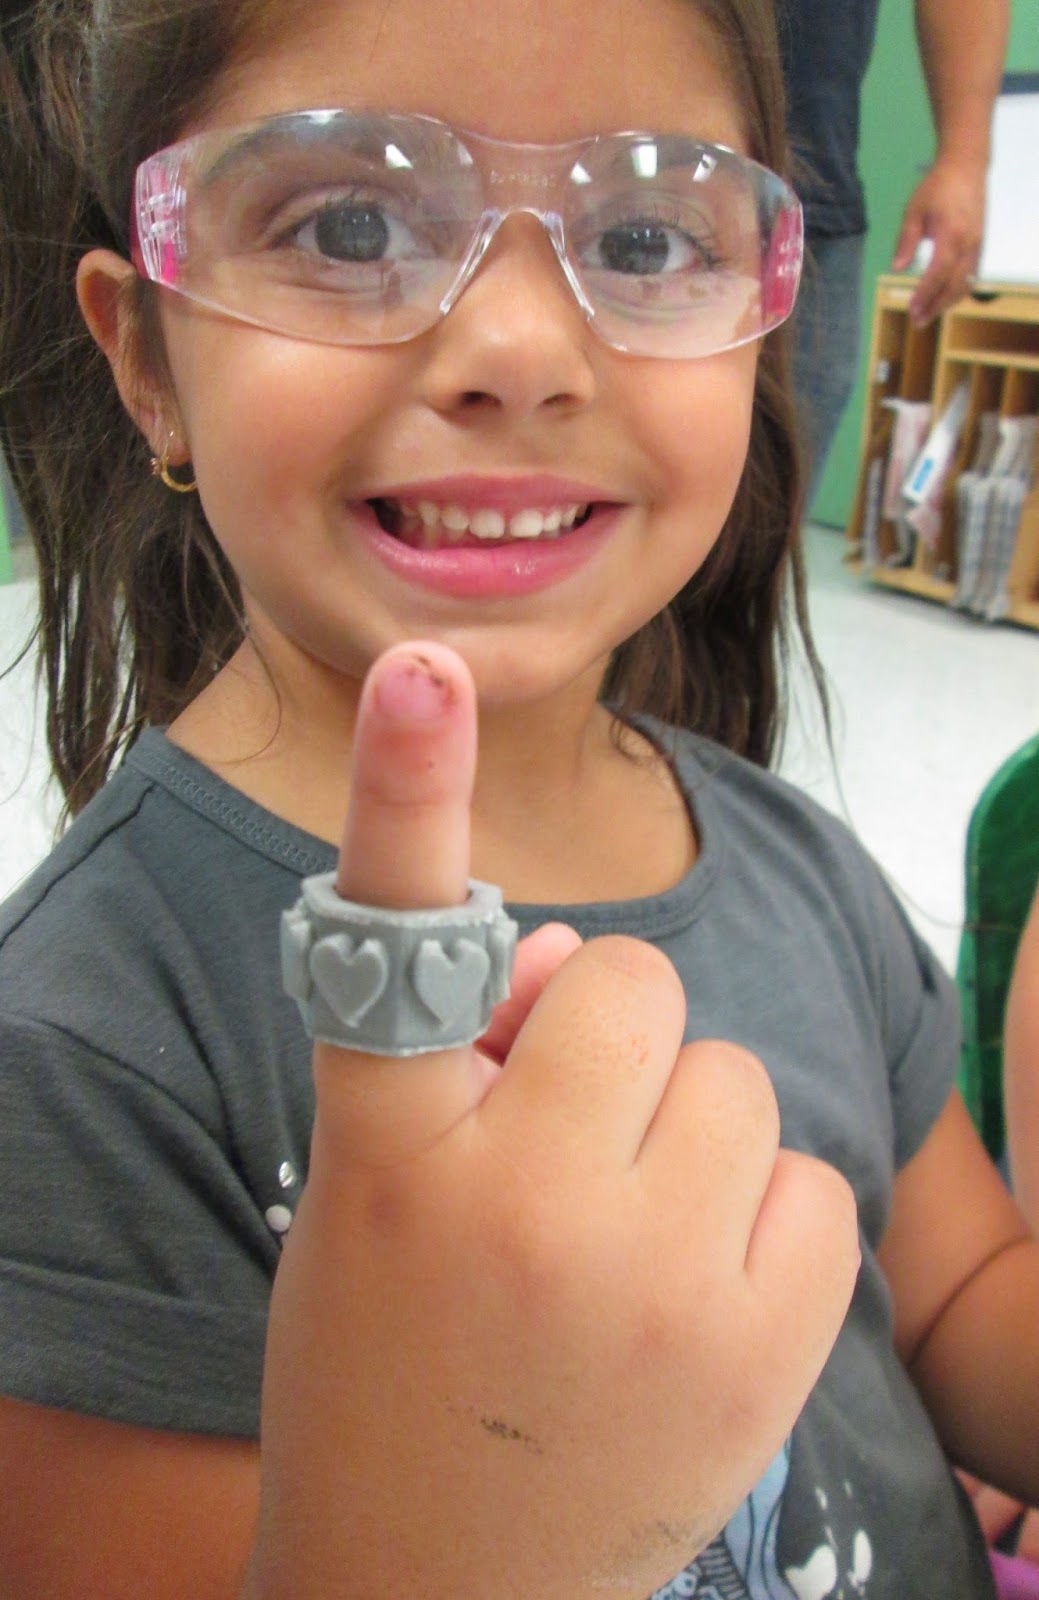 Although there are quite a few low barrier to entry 3D design options currently available, the one we found best fit these criteria was Autodesk’s Project Shapeshifter. The children quickly picked up the concept and were soon rotating and making adjustments to their 3D designs. We had jewelry like rings and bracelets, small boxes, and abstract sculptures springing to life. The children had the opportunity to watch their creations "come to life", and appreciate the fabrication process as they practiced patiently waiting.
 Here are a few examples of what the children designed.

No comments:
Post a Comment