Monday, July 21, 2014

Soldering

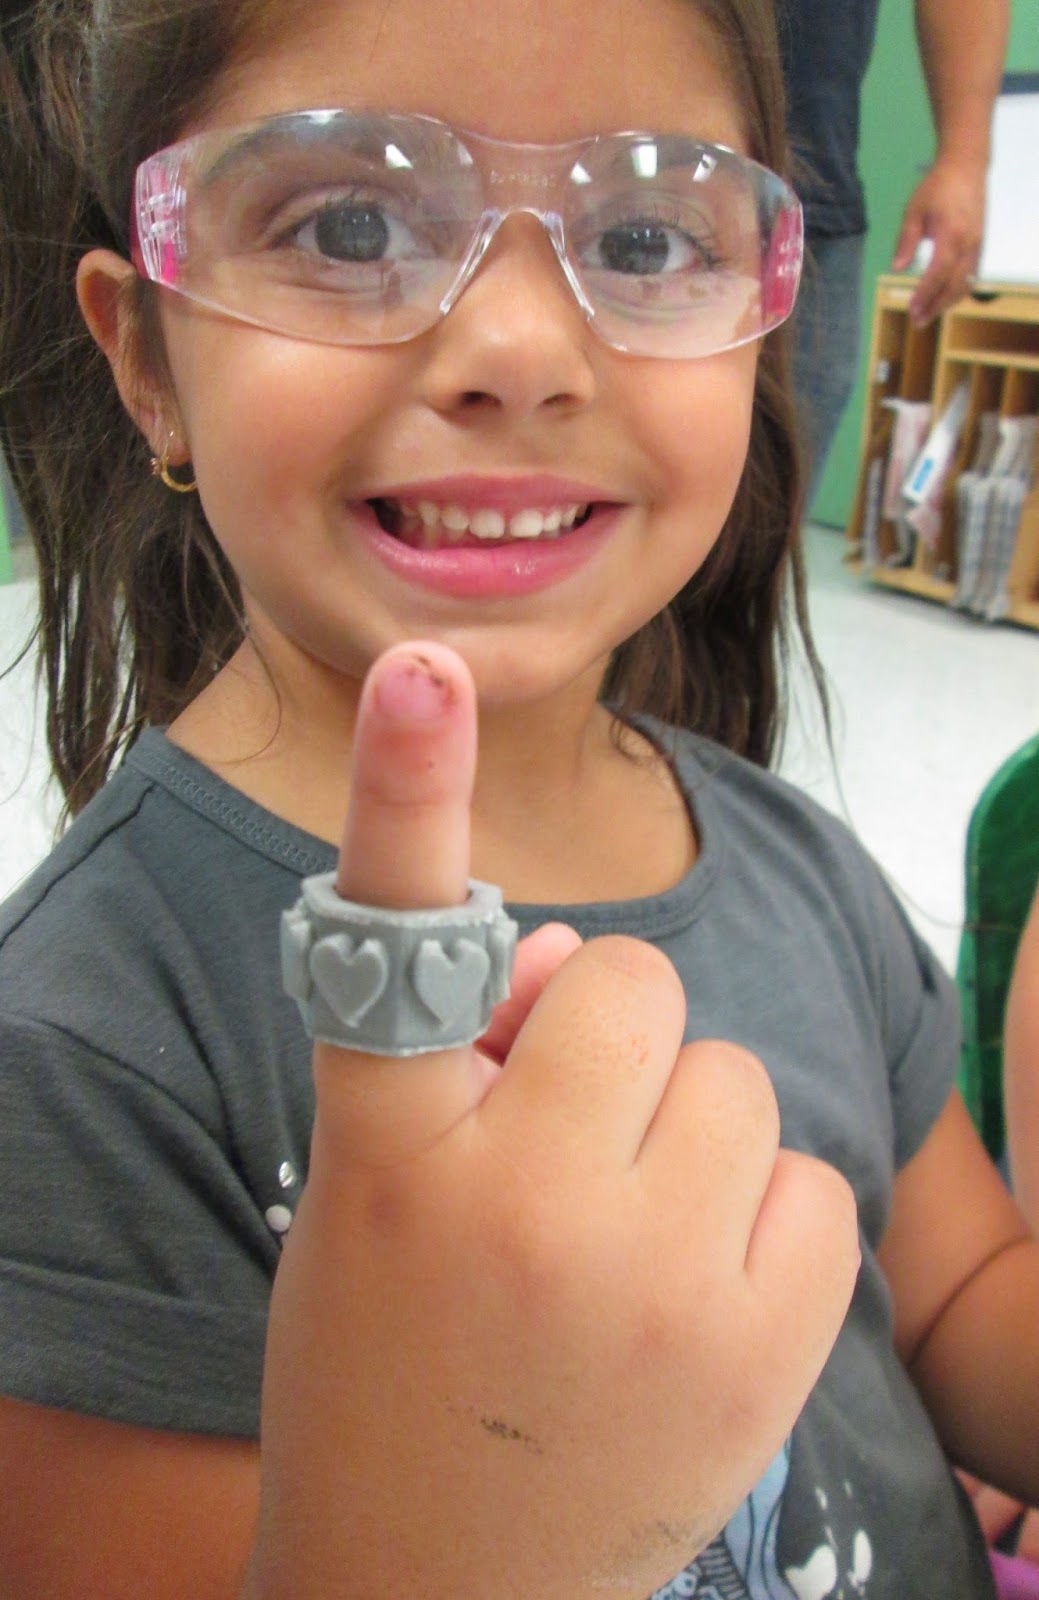
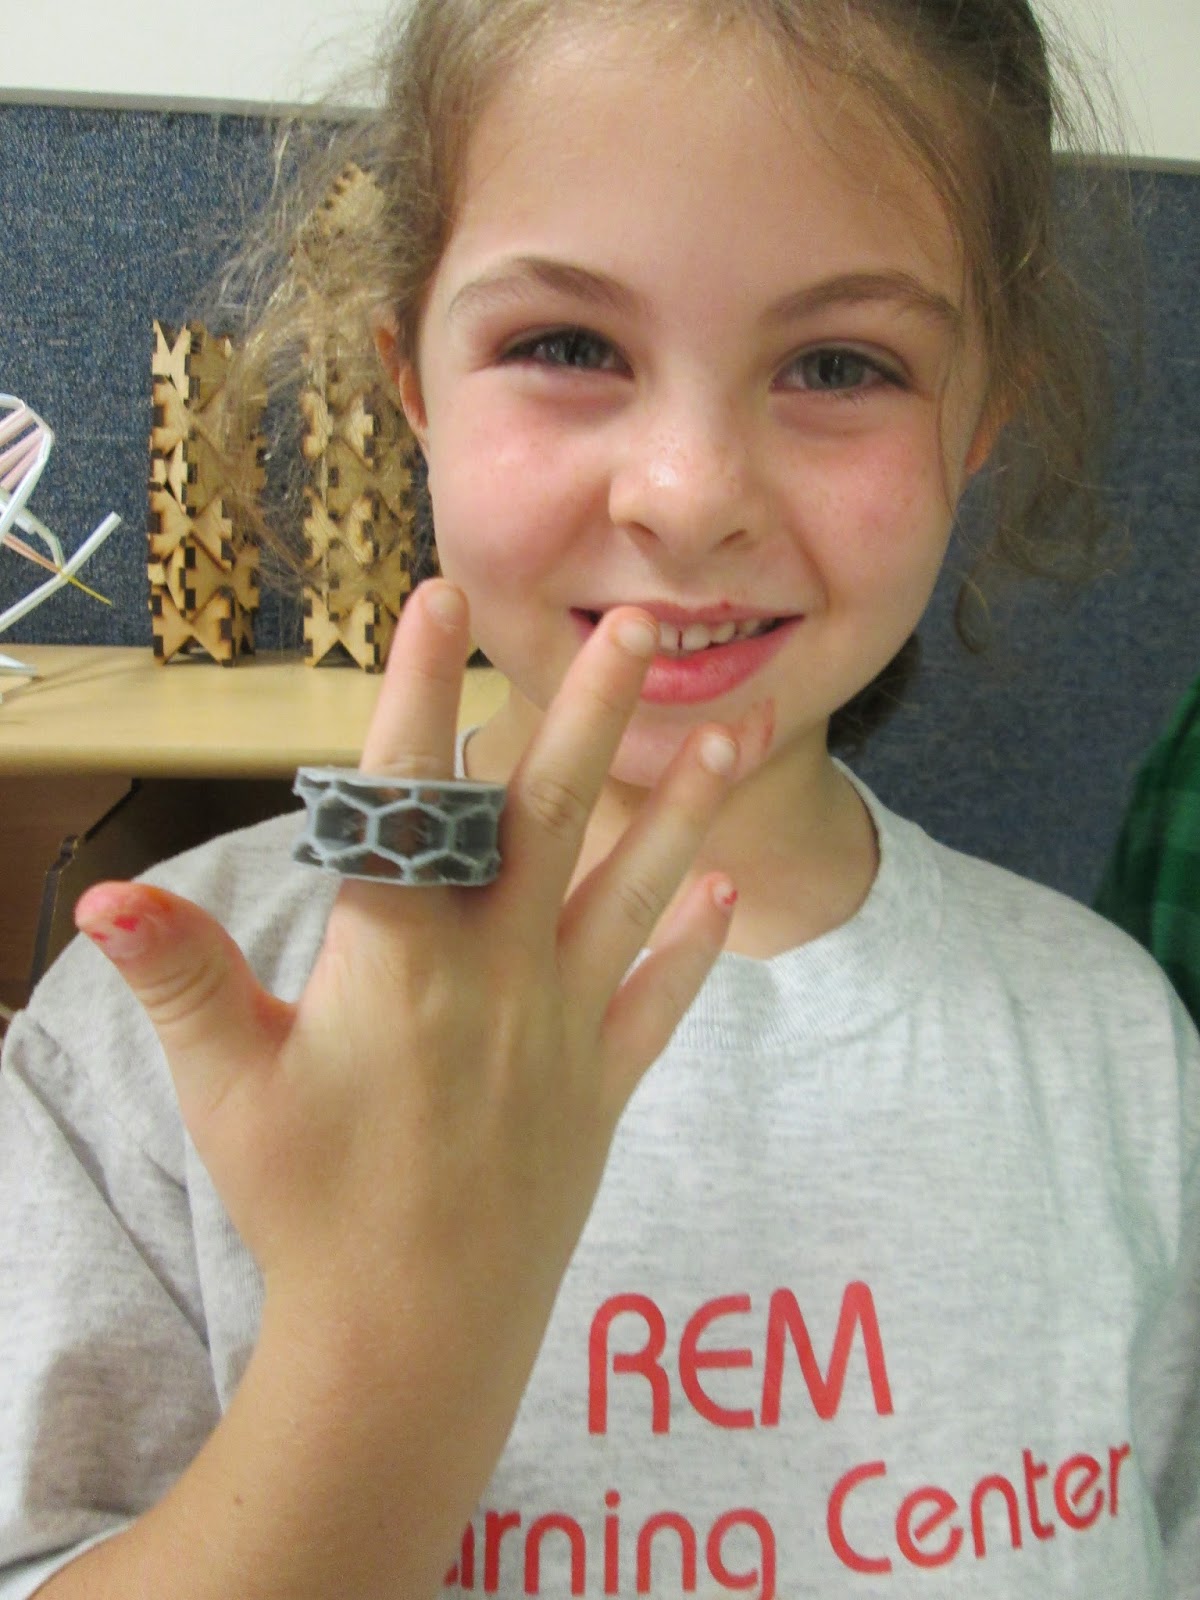
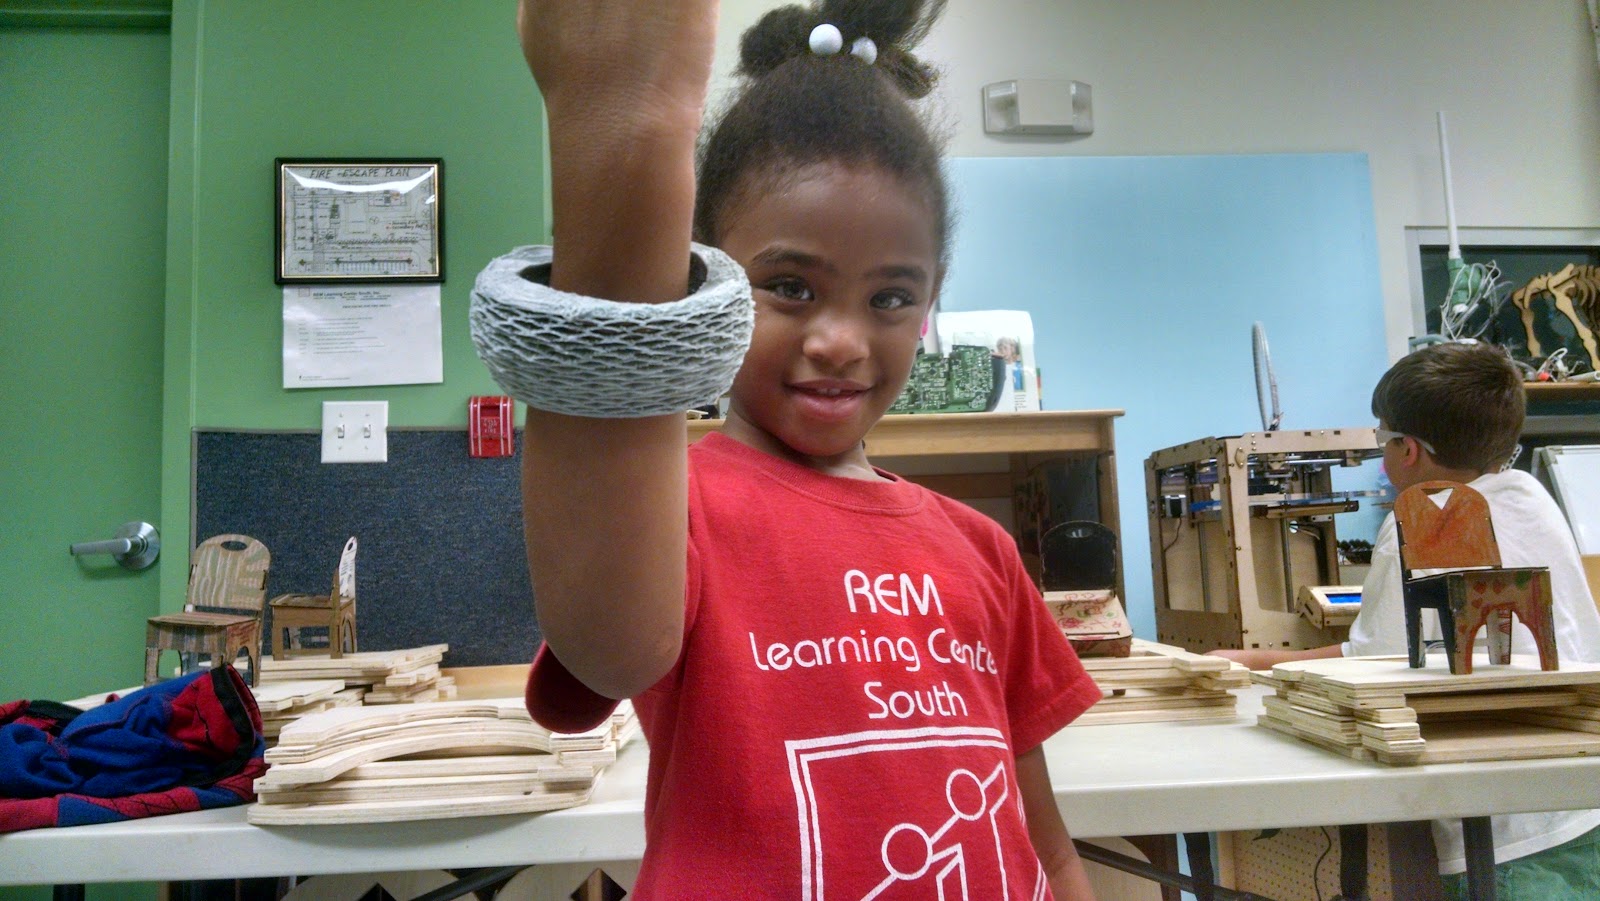
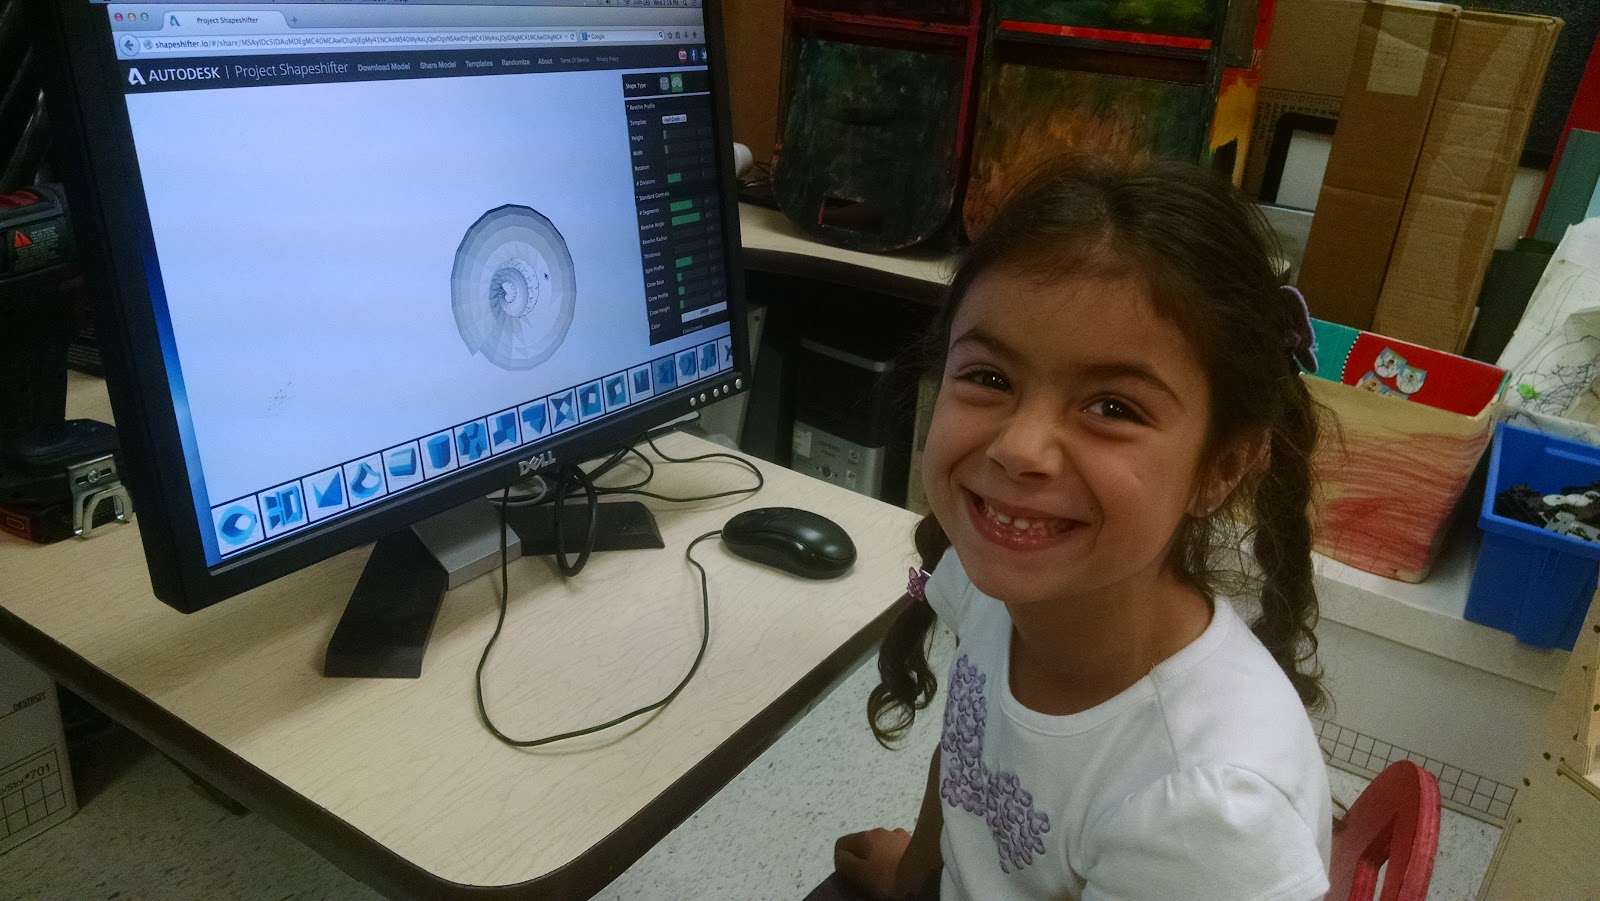
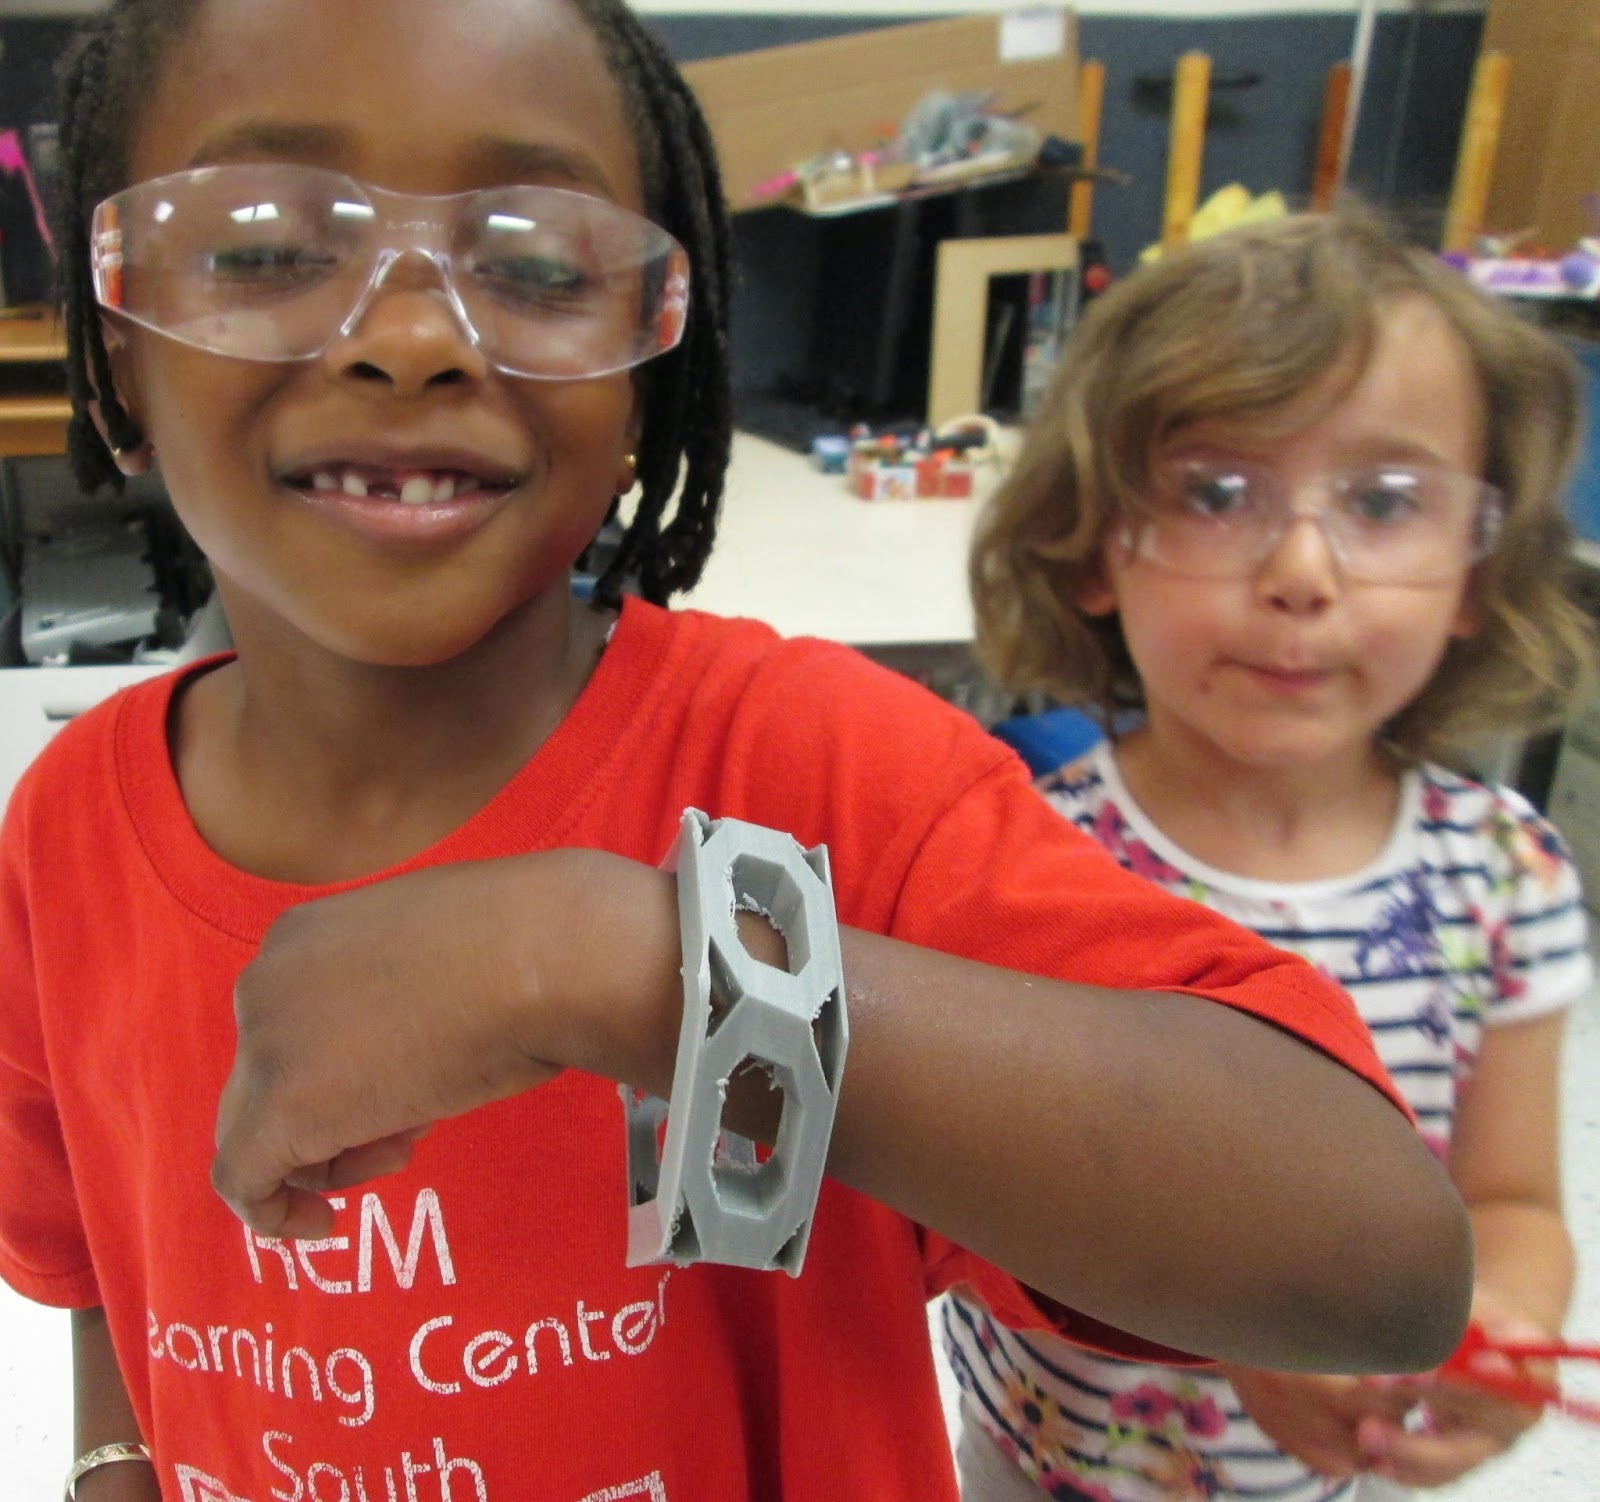
This year we were proud to be a Maker Camp Super Affiliate for the second year in a row. This summer we decided to try to teach our campers to solder. So we got out our learn to solder skill badges, fired up the soldering iron and made some digital bling.
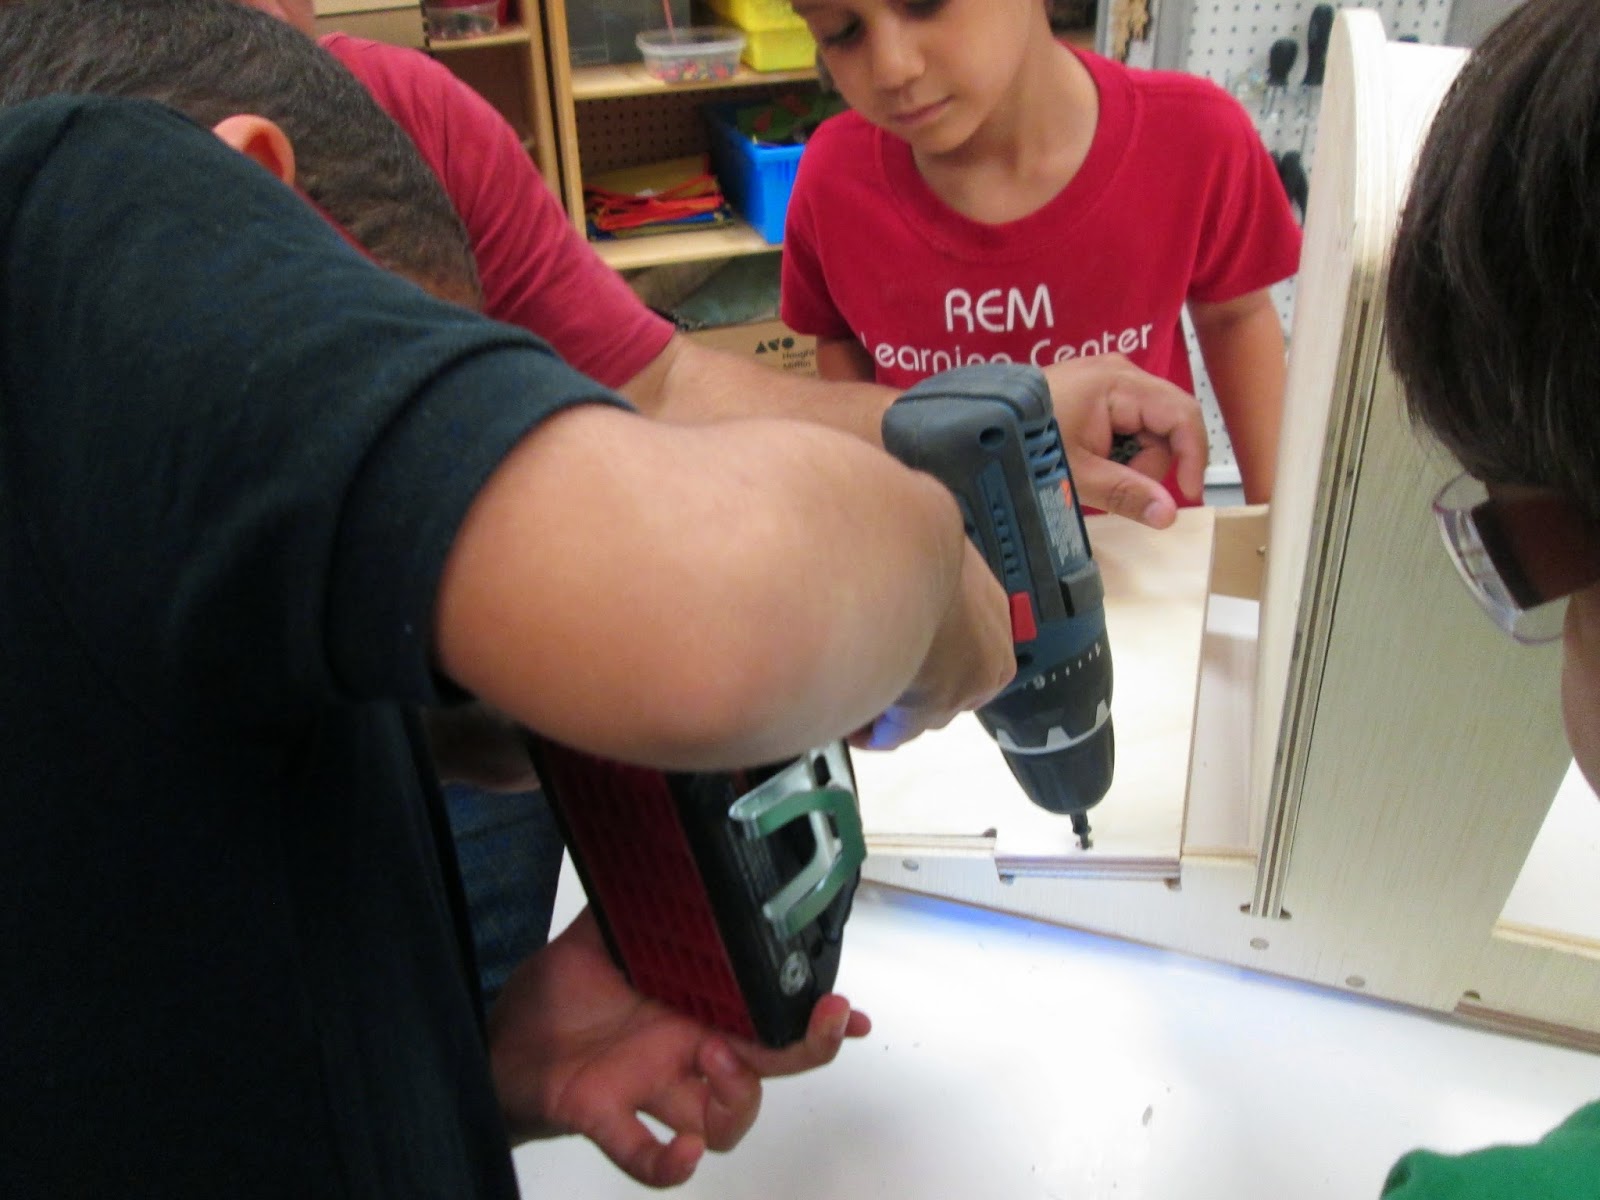
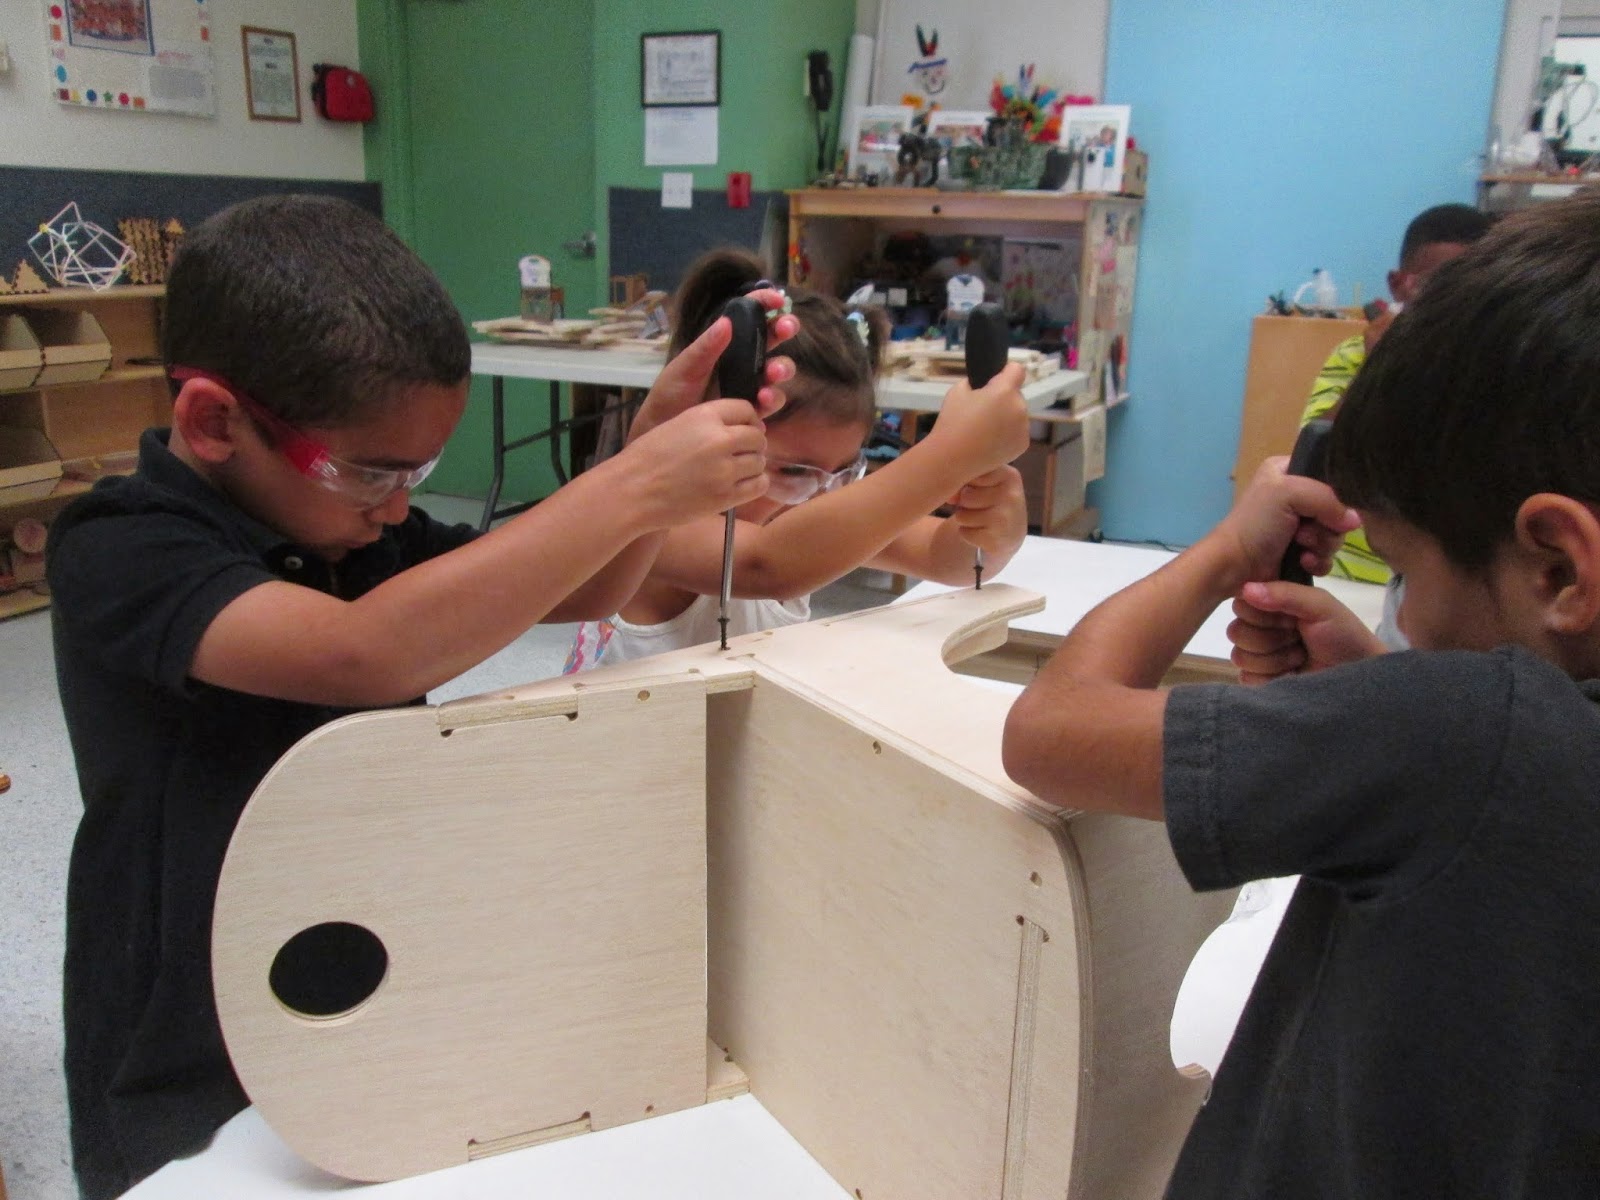
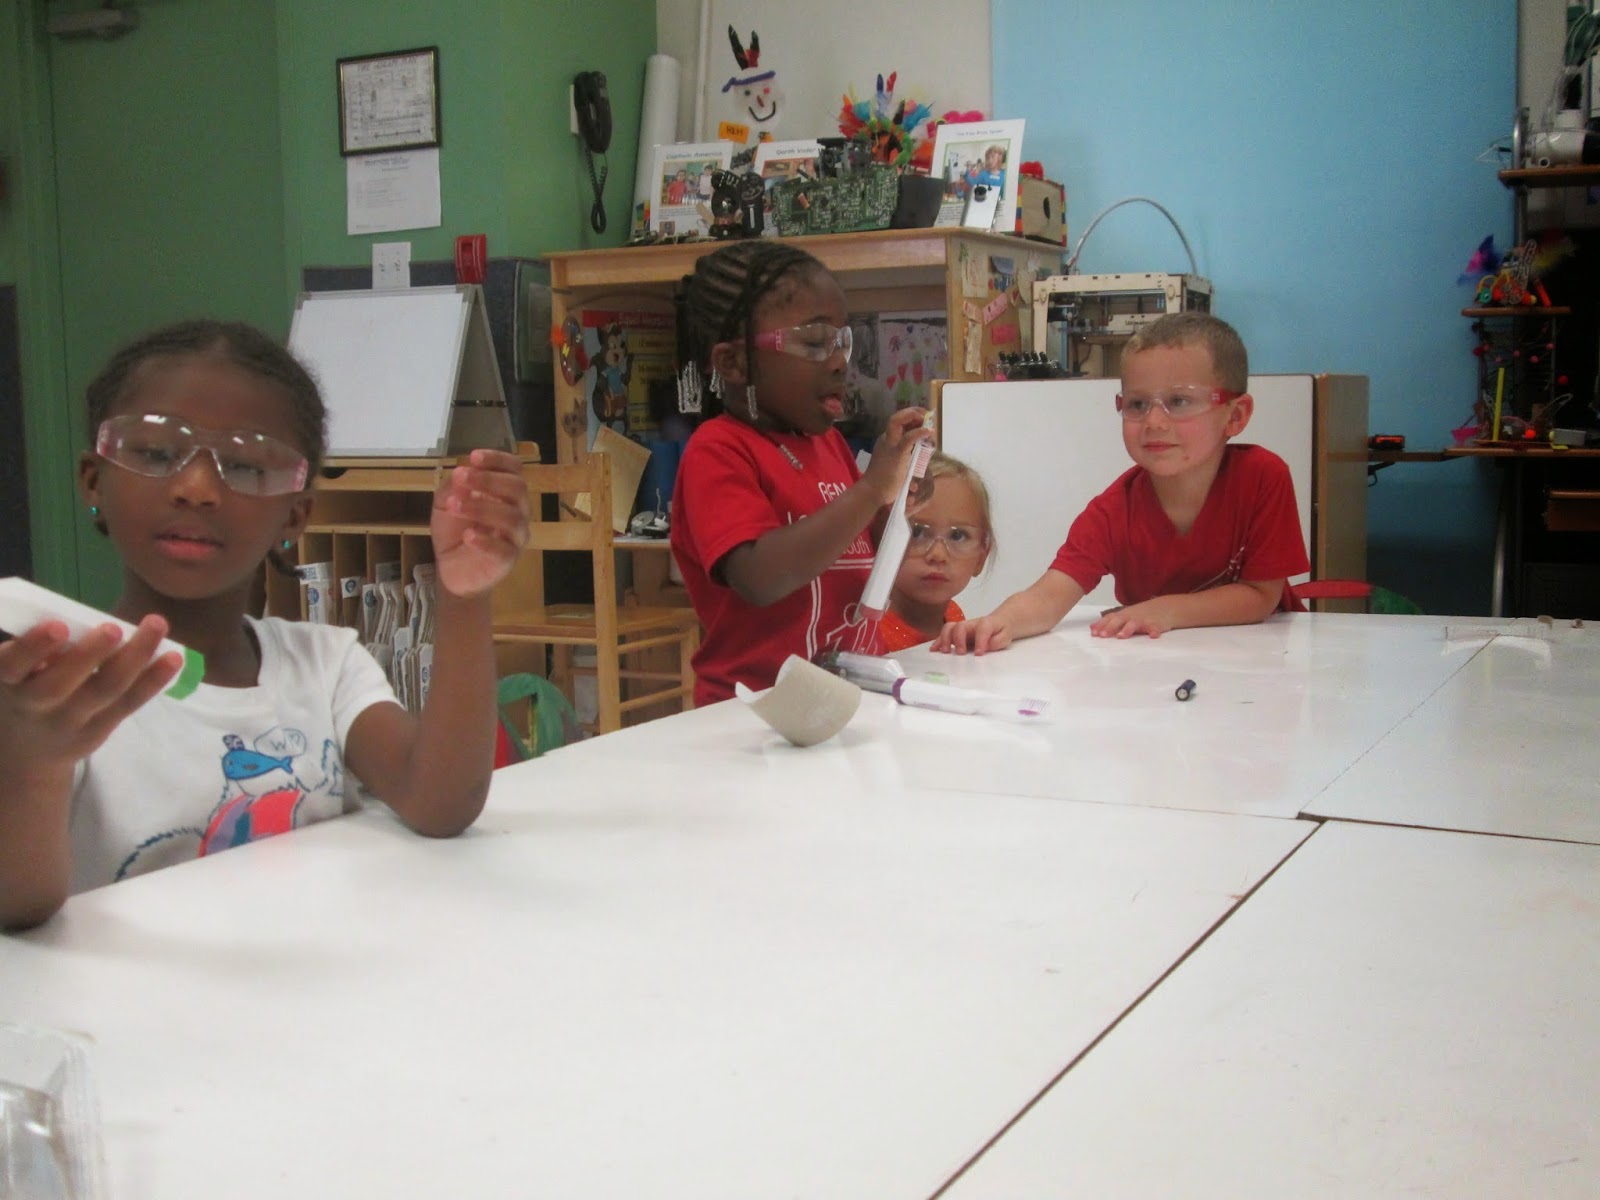
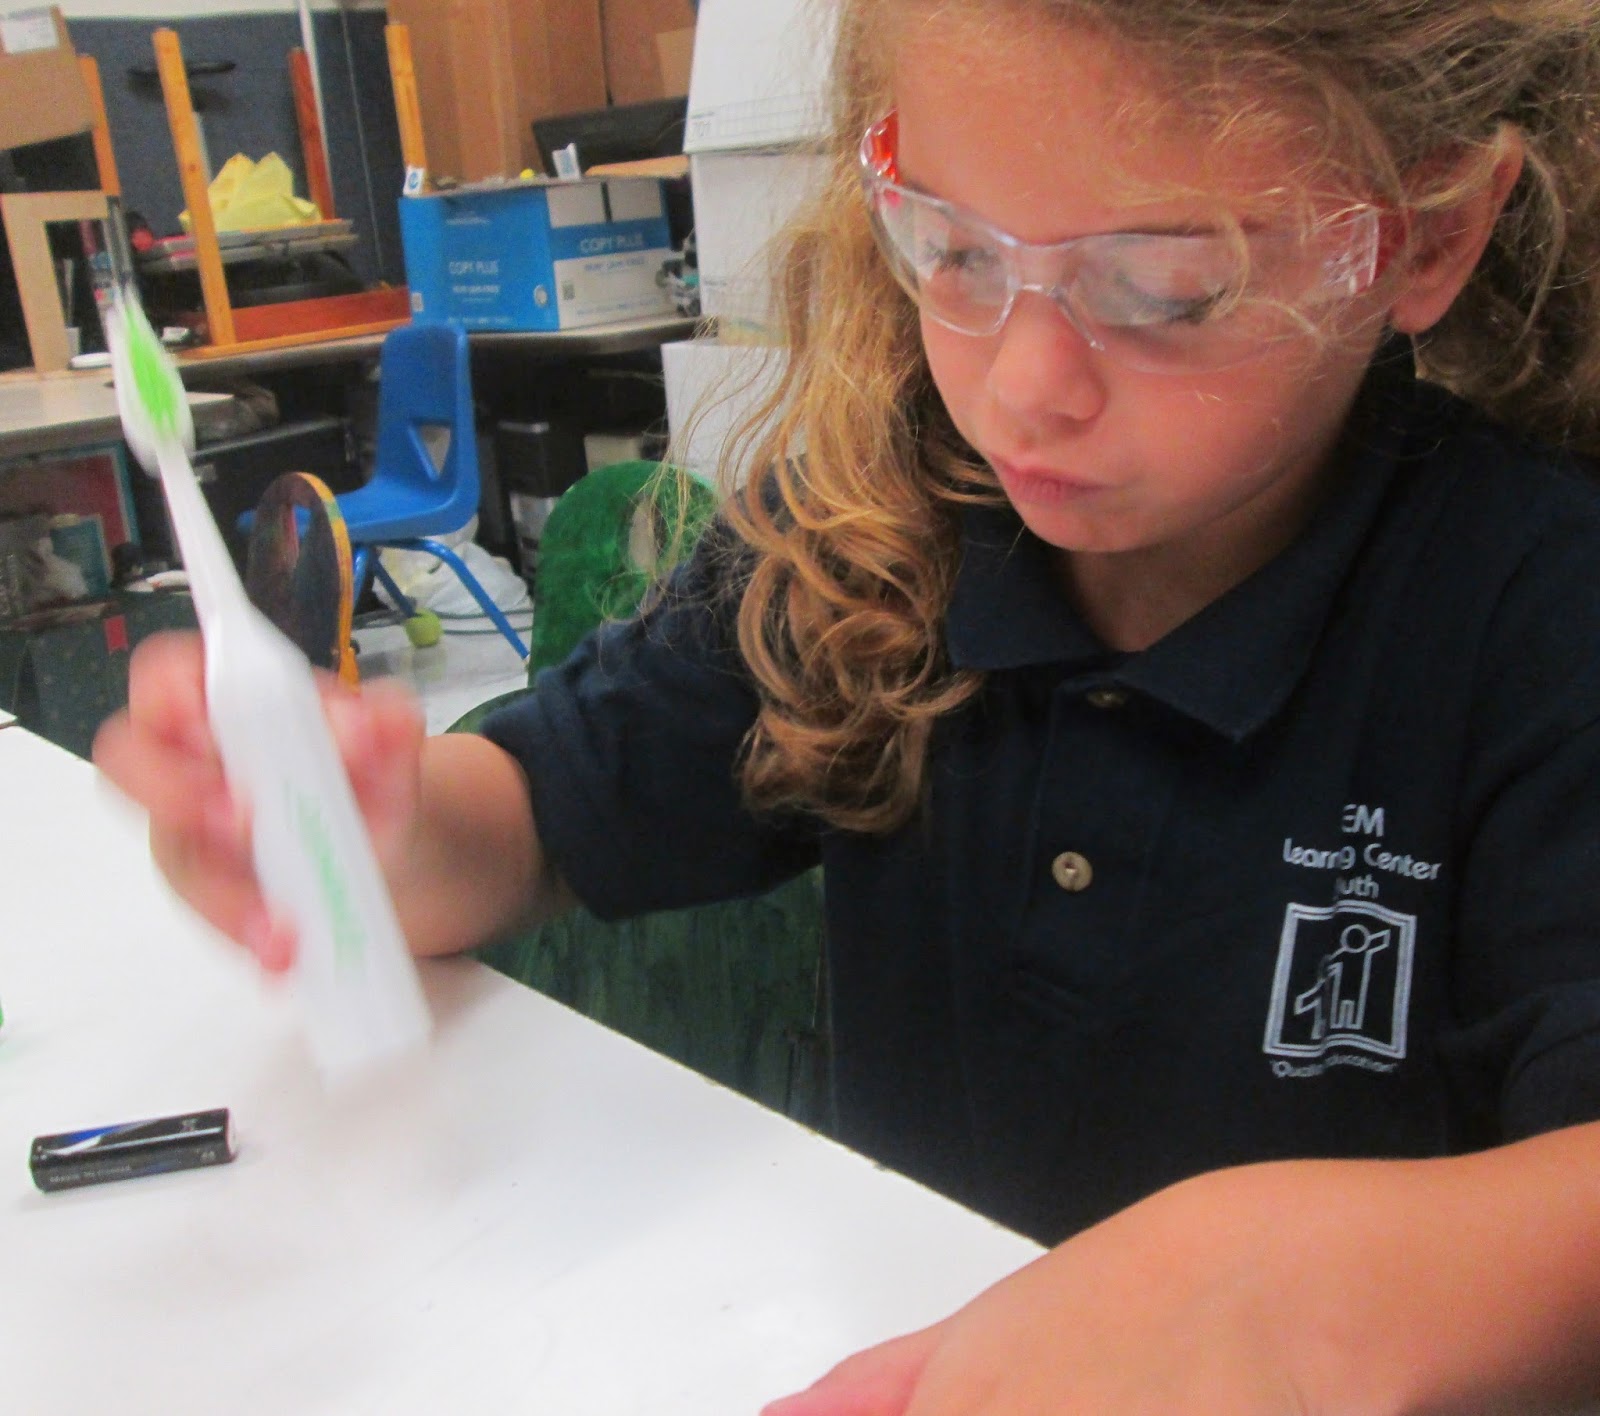
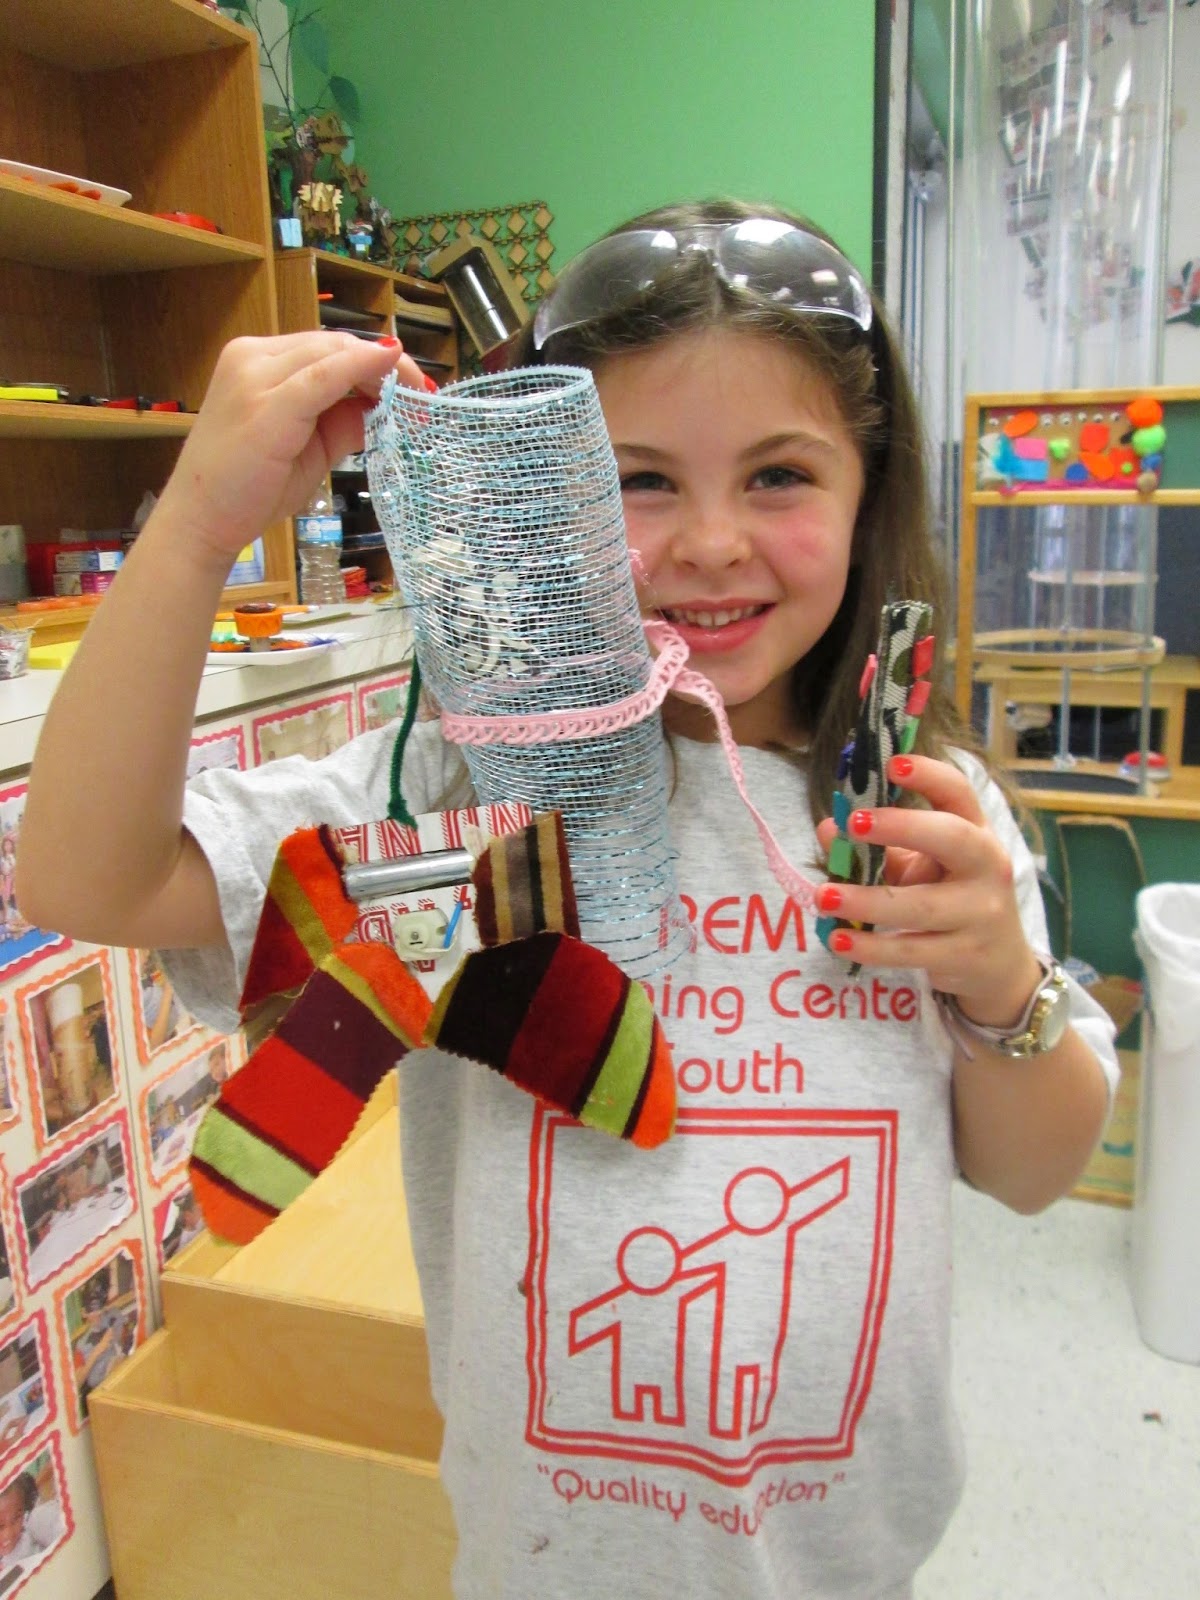
By now they were very skilled at using the hot glue gun, and this skill came in handy when introducing the soldering iron. The children were accustomed to using tools which had areas that they must not touch. Some took on to the task like pros, while others remained cautiously optimistic. We broke the groups up and did this as a focused one to one activity for obvious reasons. A pair of helping hands is a big help. Everyone had a great time, learned a new skill, and walked away proudly displaying their new accessory that they made! Here are a few pictures from one of our groups.


Friday, July 18, 2014

Hammering Screwing and Drilling

Children love noise and movement. Consequently it is no surprise that once introduced to hammering, screwing and drilling, these quickly become favorite activities to do in the studio. We have hammers and screwdrivers readily available for the children to explore, as well as blocks of wood and chunks of foam for the children to practice and hone their skills. A hand drill is available as well upon request for jobs that require a bit more torque than what they can generate with a standard screwdriver.


This summer we also introduced a small drill press into the space that the children could use upon request and with very close direct supervision.


After learning that nails and screws are used to attach objects together, the wood quickly gets a generous layer of their favorite craft materials, pompoms and feathers.


The utility of these skills are reinforced during the chair design activity where the children are able to design and build their own chairs for the studio space that are cut using our ShopBot Desktop.

Friday, July 11, 2014

3D Printed and Designed By Children

We have had our Ultimaker 3D printer in the FabLab and this summer we brought it into the studio to begin to introduce the students to the entire additive digital fabrication process. We wanted to make the barrier to the 3D design process as low as possible. In our research for an appropriate 3D design tool we were looking for one that met the following criteria:


  1. Low barrier to entry simple interface so that the children could get the feel of having a 3D object on the screen, rotate it, manipulate it, and make changes to the design. We wanted to concentrate on the entire process and did not want to get bogged down by any one step. So there could not be a steep learning curve for young children.
  2. Choice but not a blank slate. It was important that each child’s creation have their own signature, and empowered them to make something that they could truly call their design. However, starting with a blank can lead us instructors to do a lot of guidance and hand holding, which we wanted to avoid.
  3. Final designs should be visually appealing and have sufficient detail that the children would feel proud of the final product, and anyone who saw the work would not be able to tell that a child designed it on their own.
  4. Must be low cost or free.

Although there are quite a few low barrier to entry 3D design options currently available, the one we found best fit these criteria was Autodesk’s Project Shapeshifter. The children quickly picked up the concept and were soon rotating and making adjustments to their 3D designs. We had jewelry like rings and bracelets, small boxes, and abstract sculptures springing to life. The children had the opportunity to watch their creations "come to life", and appreciate the fabrication process as they practiced patiently waiting. 

Here are a few examples of what the children designed. 


Thursday, July 3, 2014

Electric Toothbrush Exploration

We explored the possibilities of electric toothbrushes. These are objects that many of the children use daily, however many never explore them further. We asked what makes them shake, and why. We asked them to take the toothbrush apart and find out what was inside. This is a challenge at first, however once one of the students gets the motor out they help their colleagues.
Once they removed the components we had alligator clips laying on the table so that they could explore and play with the motors.
One of the challenges the children face is keeping the battery and motor connected. When they finally get the components connected in a way that works consistently there is still the challenge of attaching it to their project. To ease this transition and lower the barrier a little we designed a triangular template with a cut out that allowed the battery and motor to be press-fit into the template. We used our left over cardboard pizza boxes as the material and our Epilog laser cutter to print them out. Once the children put together the template, the design was open enough to allow for the attachment of the motors to many different types of creations. We brought out an assortment of markers, covered the tables with butcher paper, and explored scribbling machines.


After playing and tinkering with the motors, and the motion they create many ended up in the designs that the children made to extend their play. We had dancing dolls, a ninja turtle, and a representation of the life cycle of a butterfly complete with fluttering butterfly wings.


Click below to see some videos of additional designs.